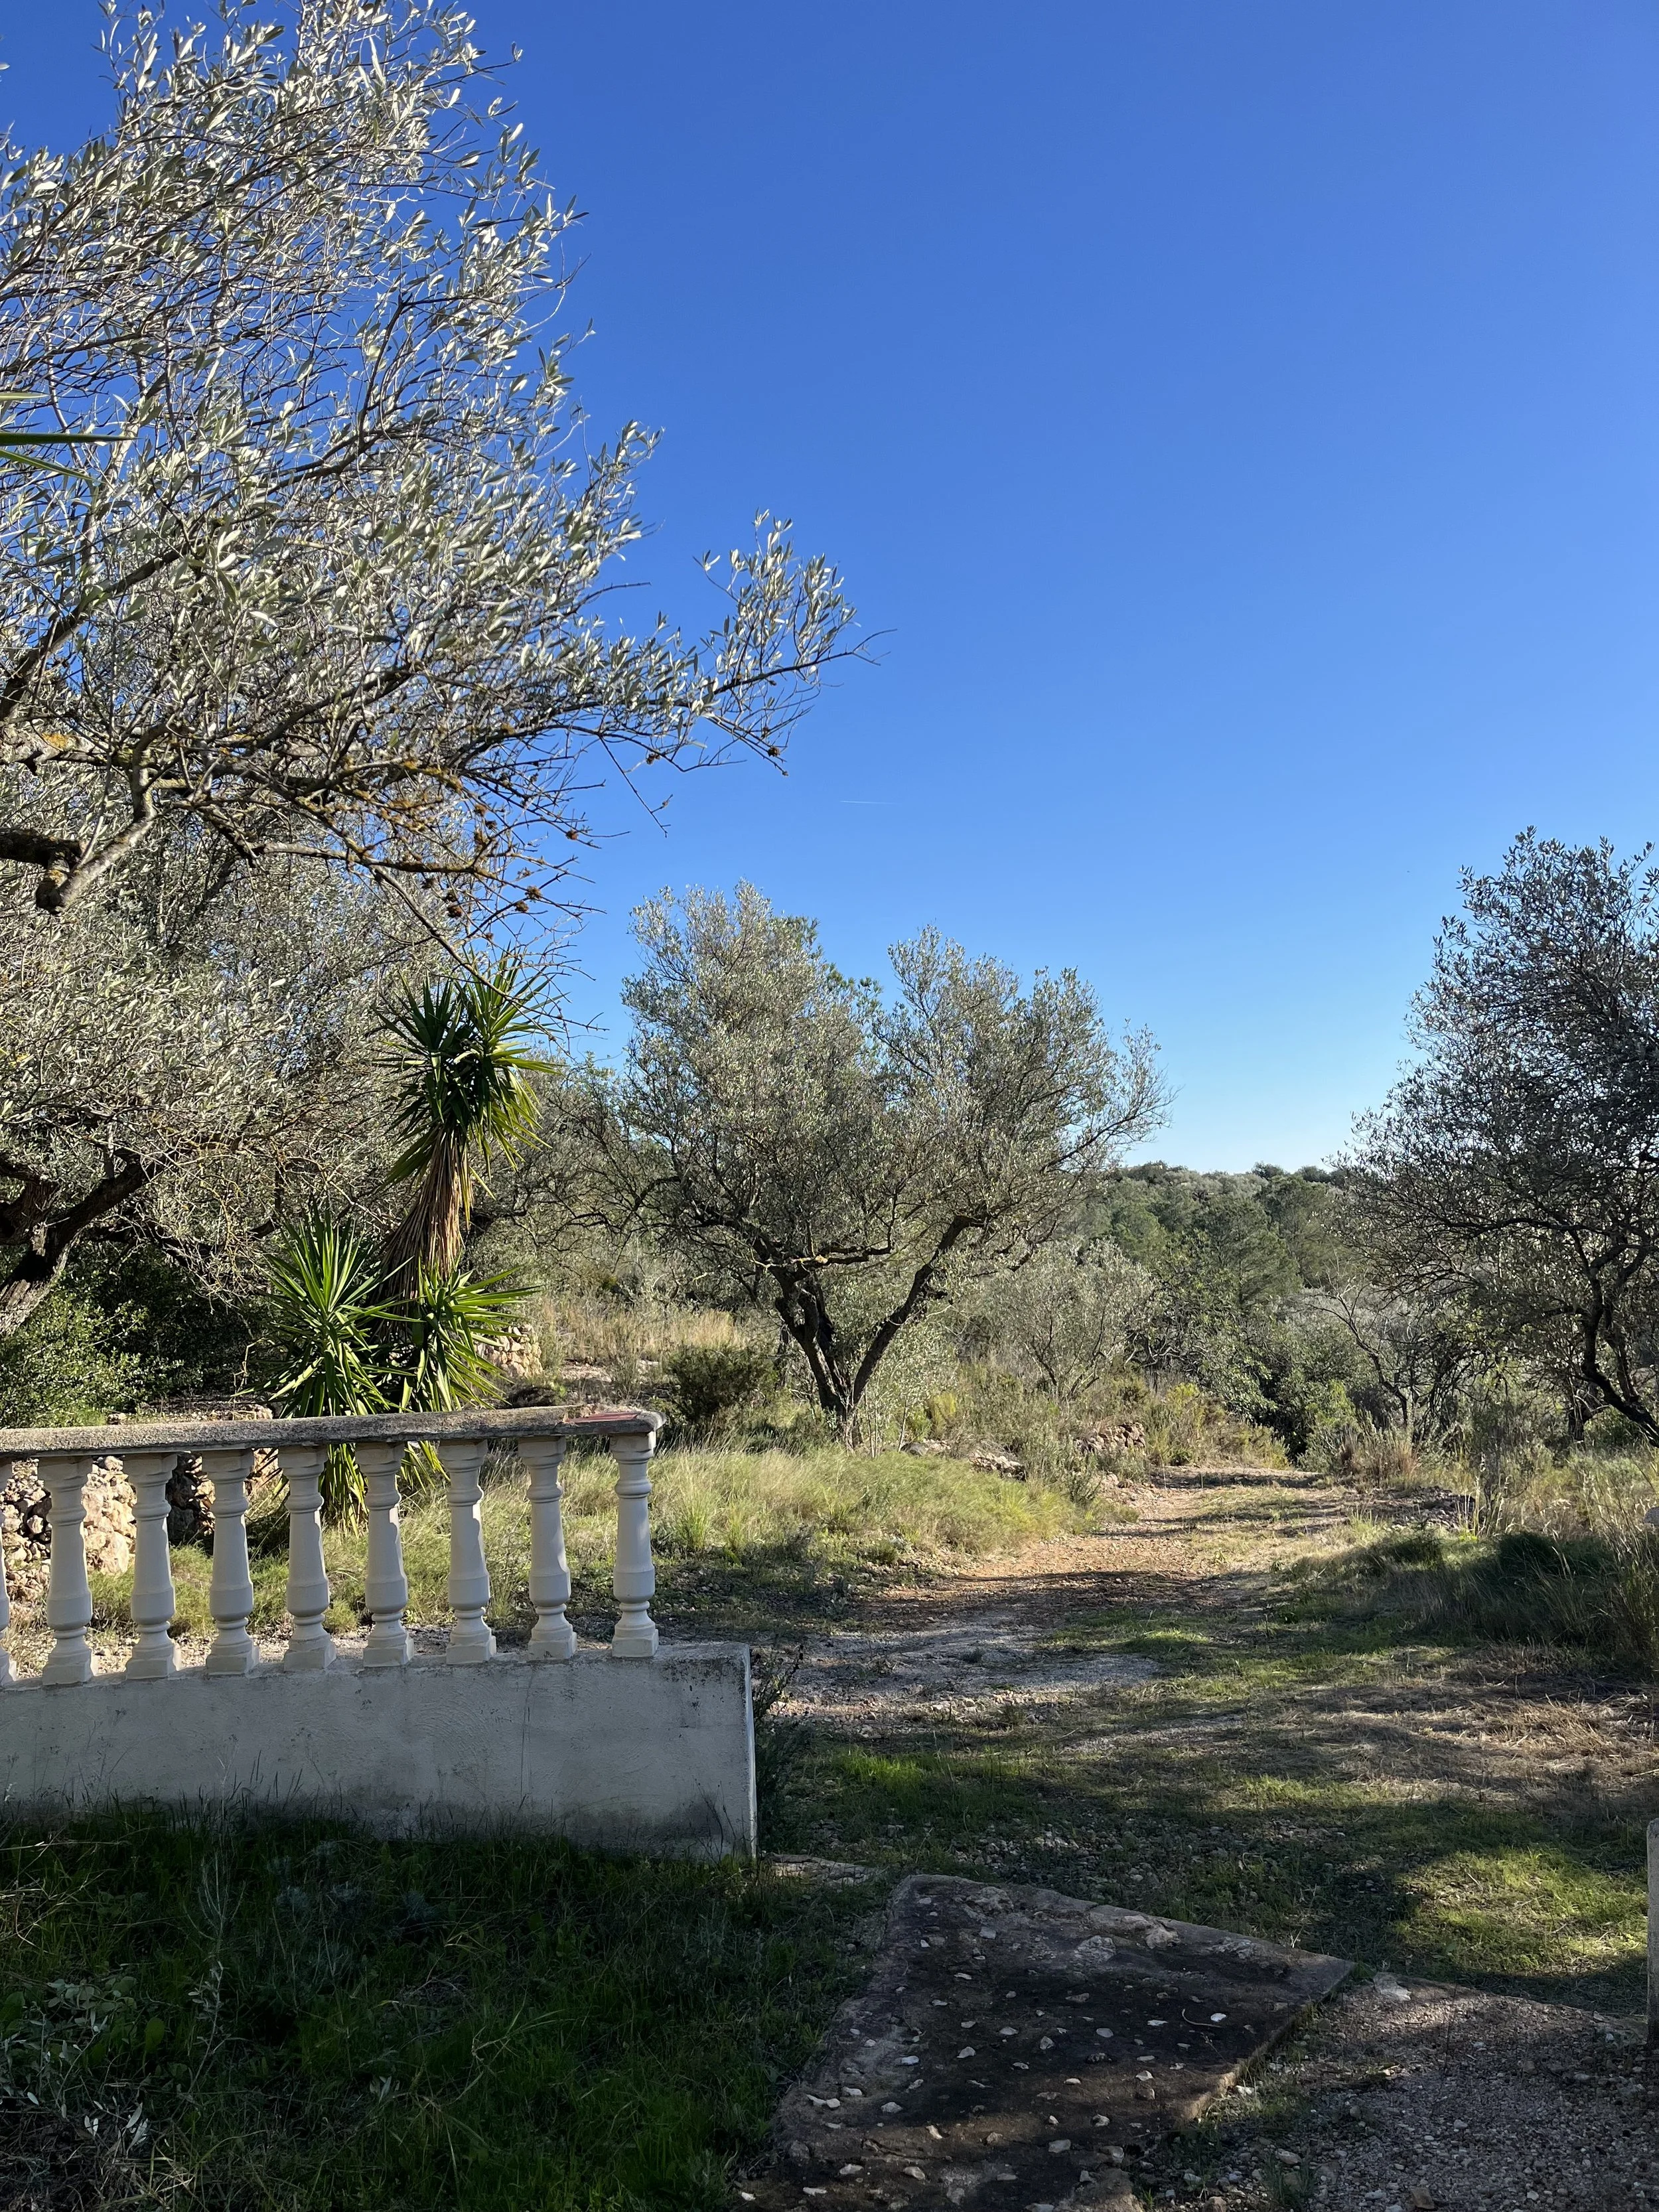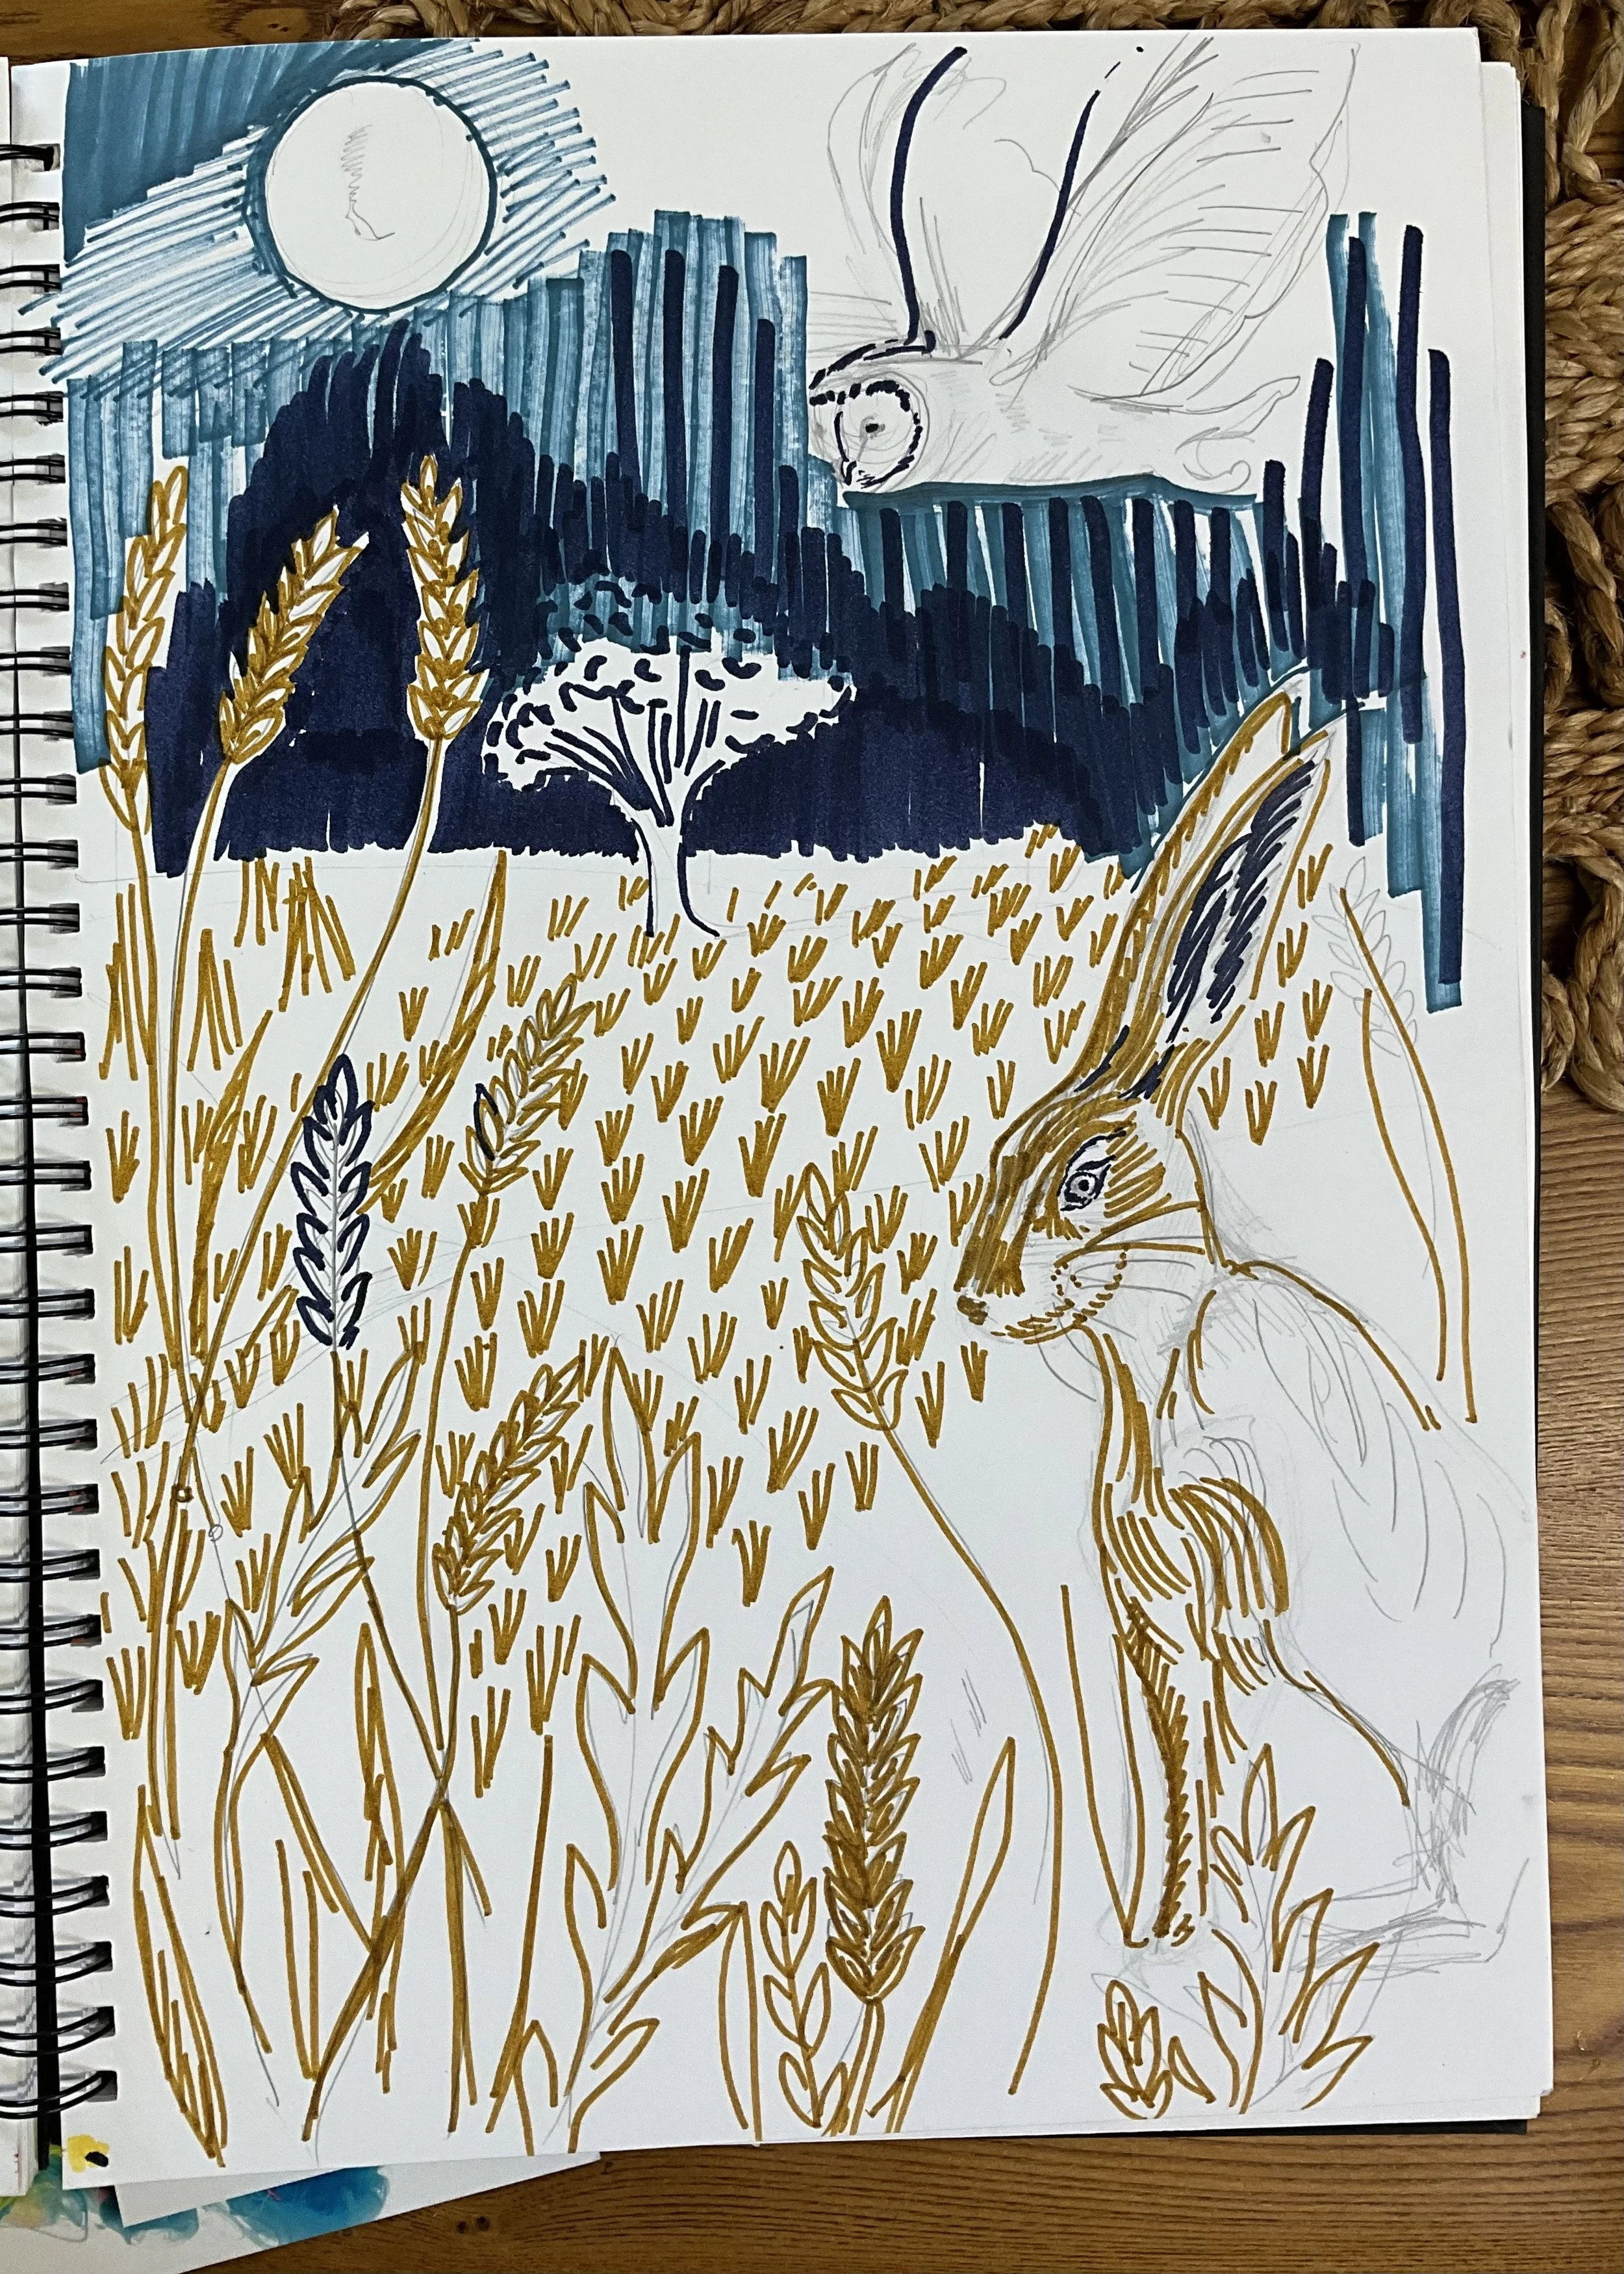
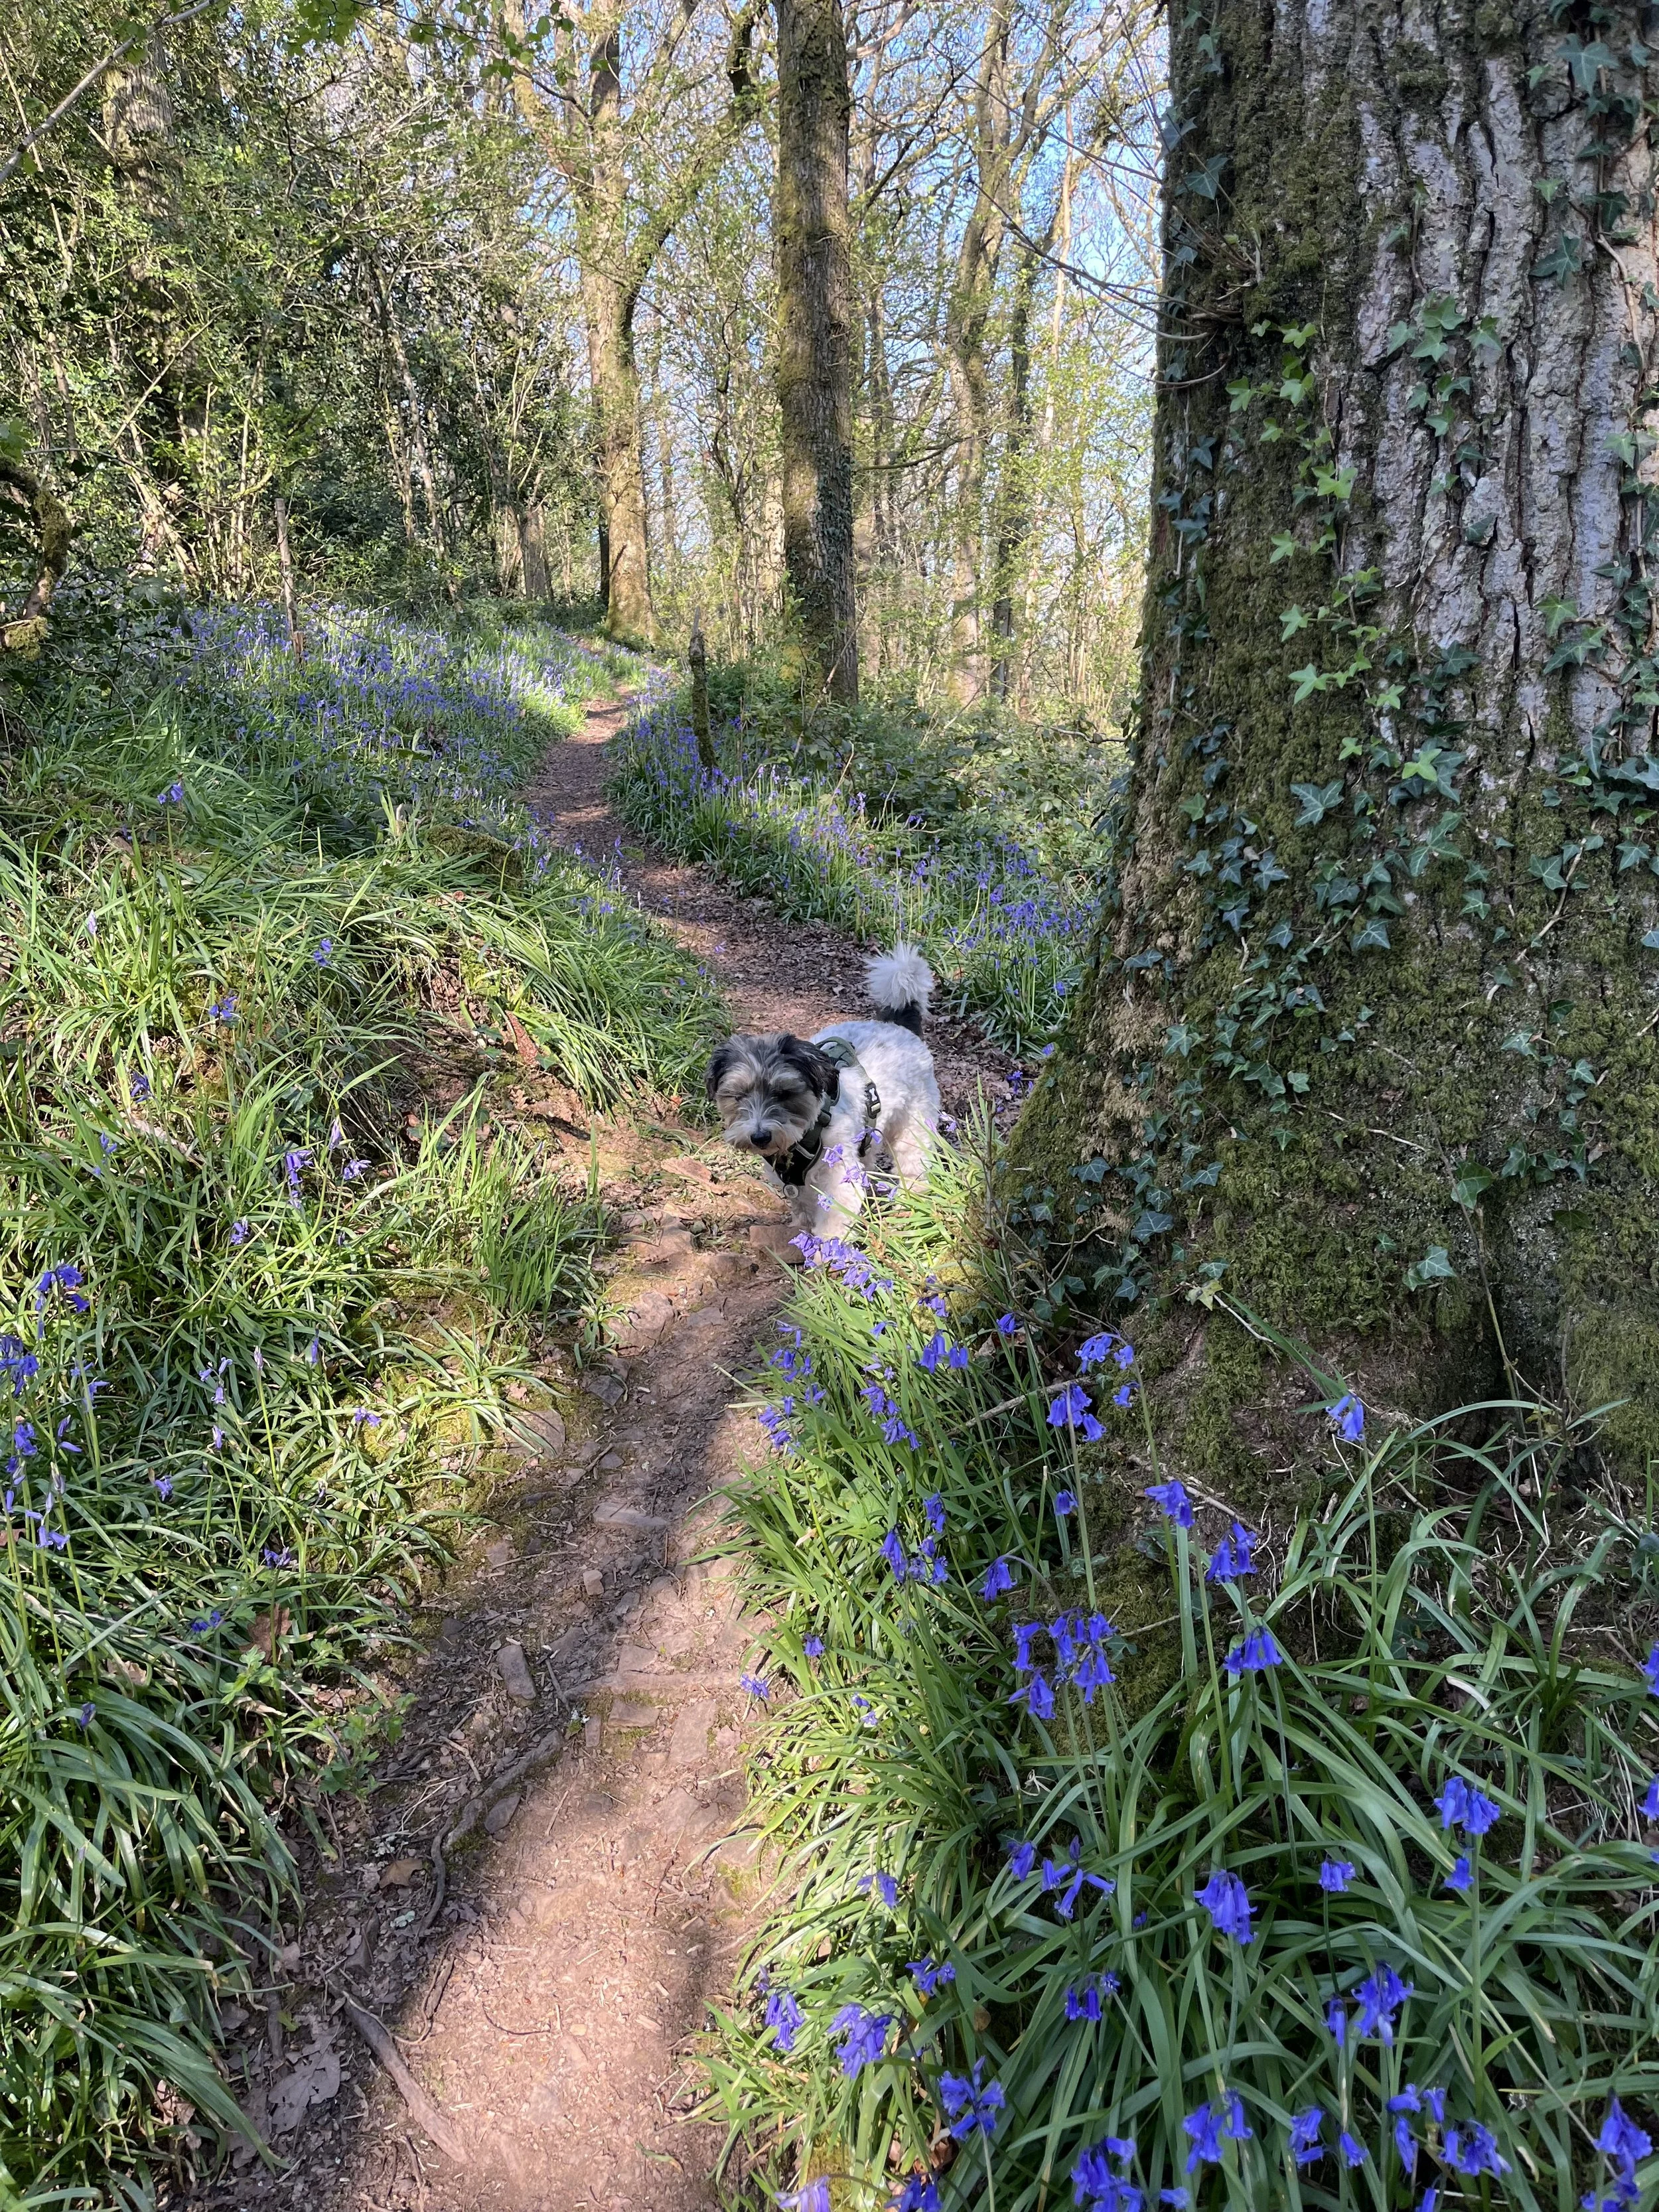
What glorious Spring weather we have been spoilt with for the last few days of April, as we turn the corner into May. Although there’s been a chilly wind blowing across the Devon hill’s, there’s definite warmth in the sunshine if you tuck yourself out of the way. Feeling a little like I hadn’t fully appreciated the blooming Bluebell’s yet; I made some time this week to go a little slower on our morning walk, and take my trusty sketchbook and my Yeti cup full of Cacao for some time in the woods.
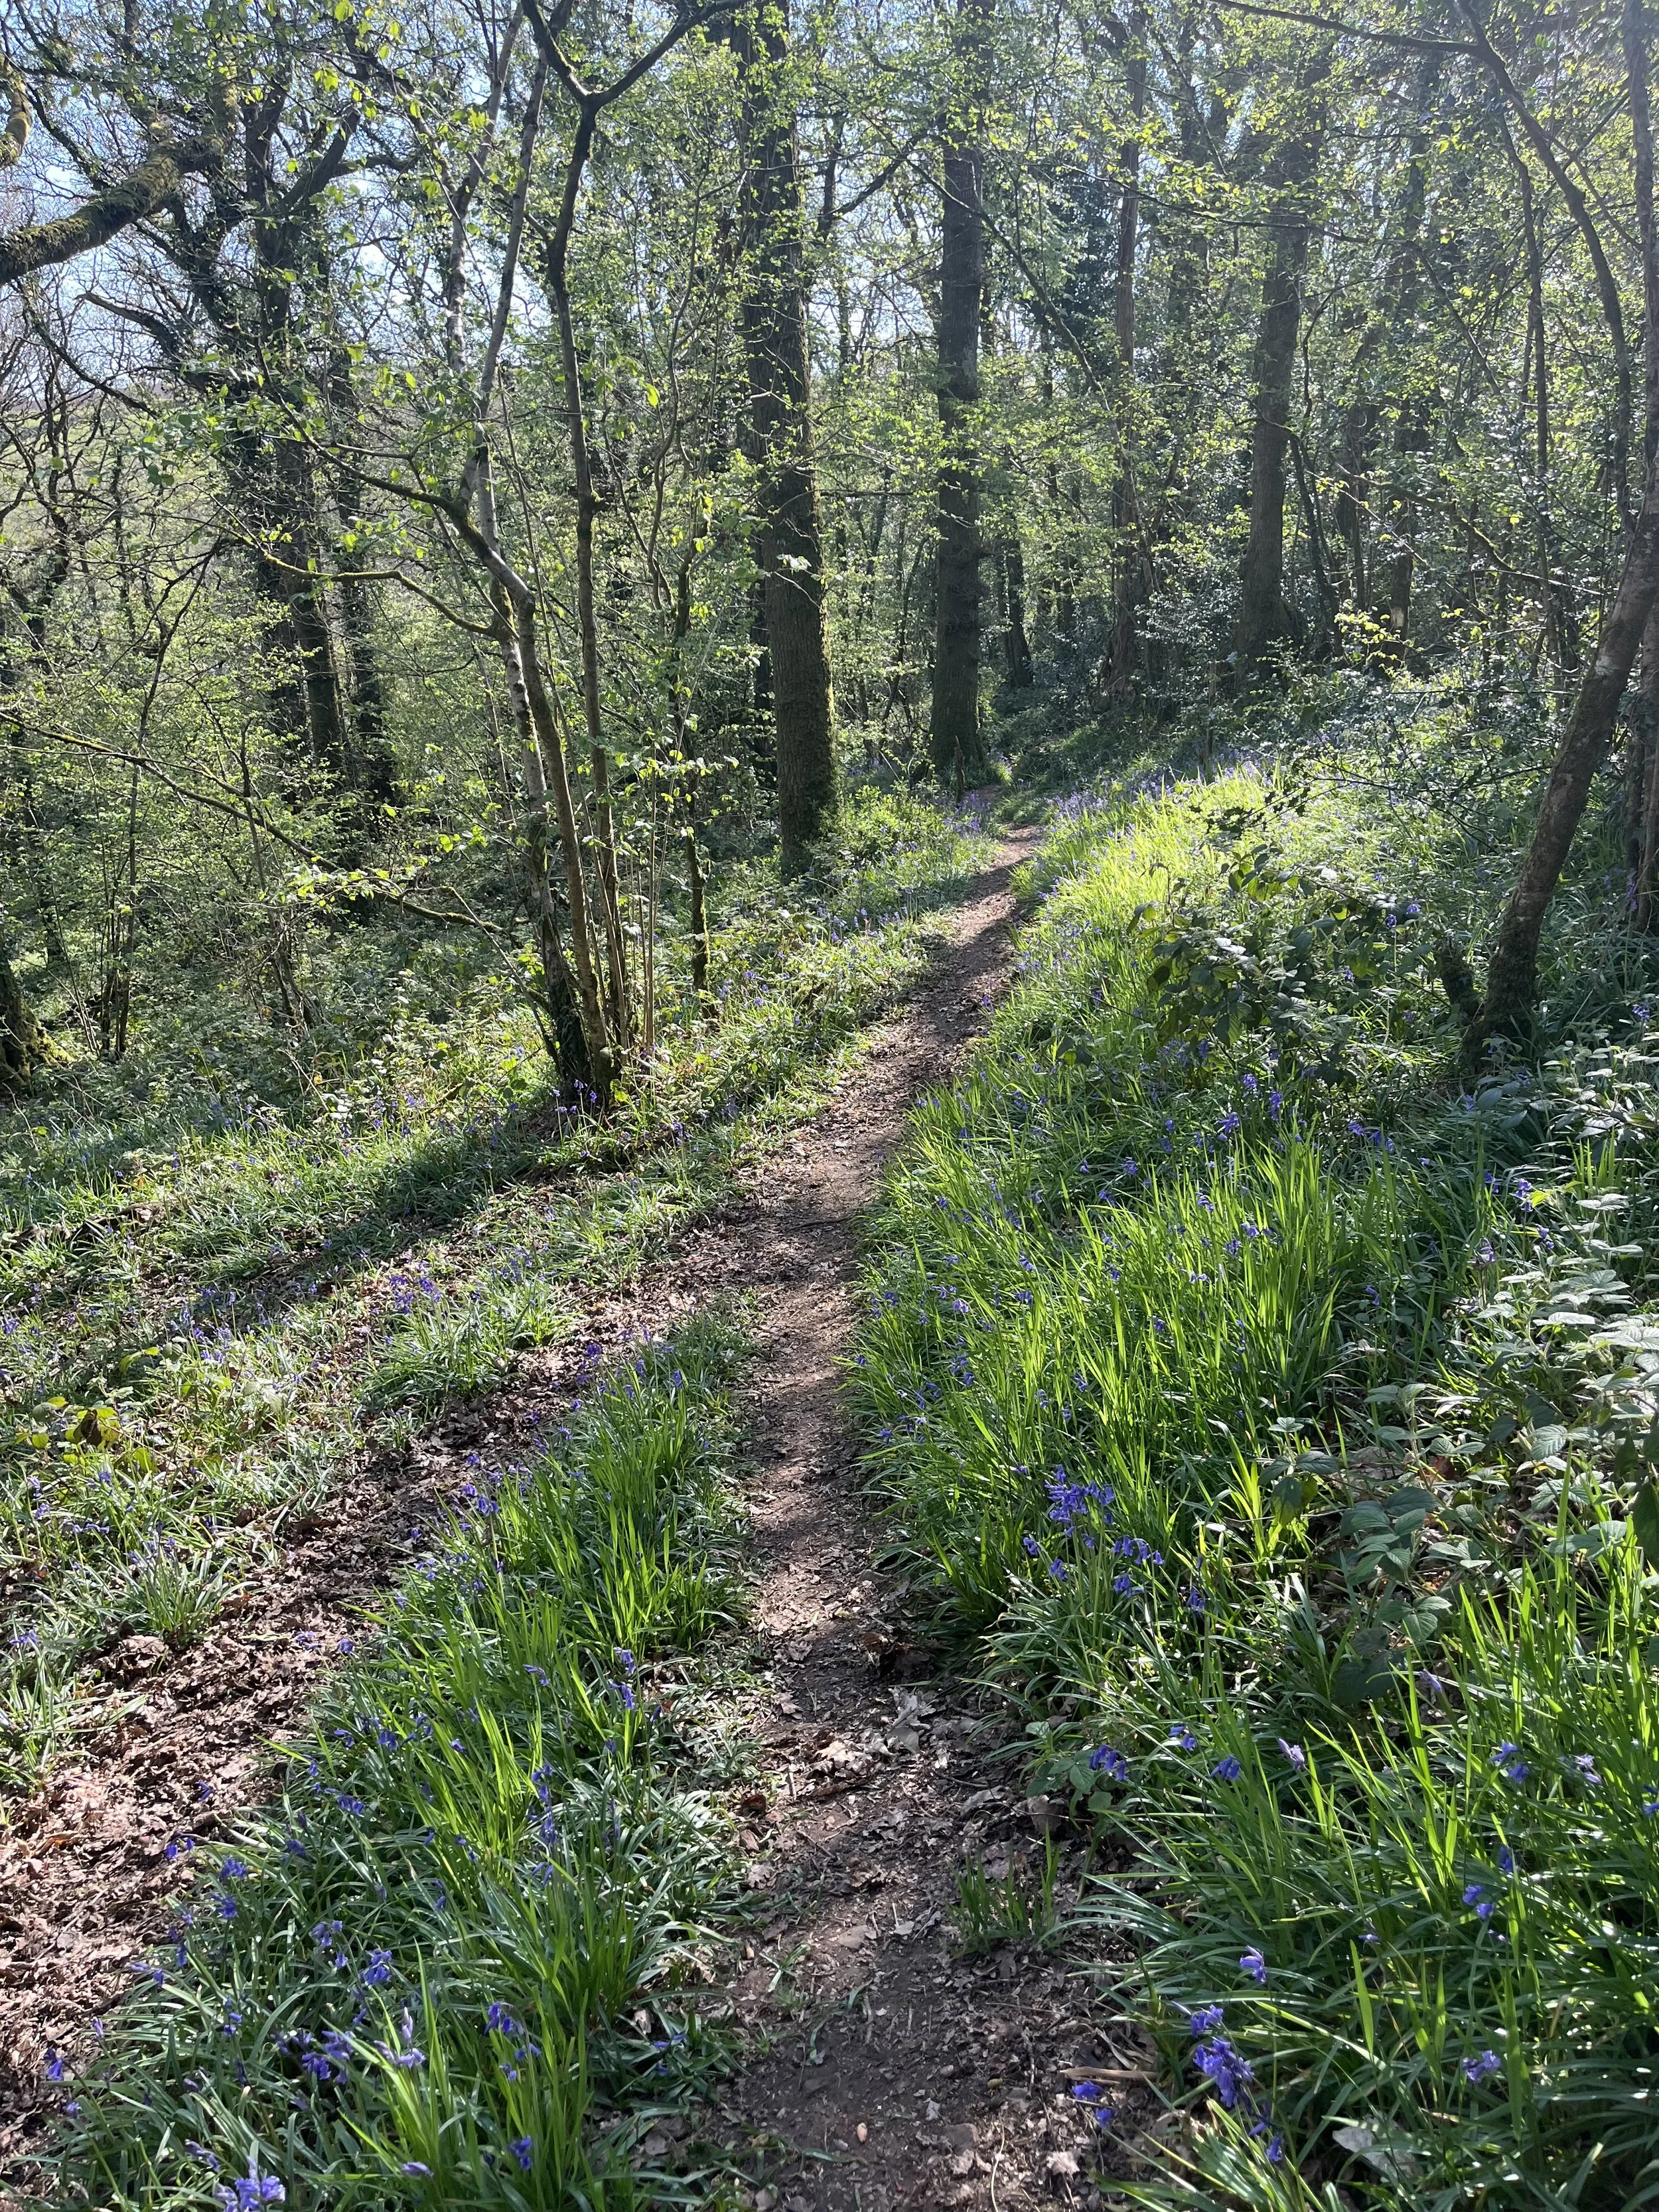
We are blessed with numerous options of Bluebell woods in Devon, and this one Yeo Copse is a stones throw from my route to work. Today I followed a deer path off the beaten track and into the blooms and found a sheltered spot out of the wind, with a Beech tree to lean against.
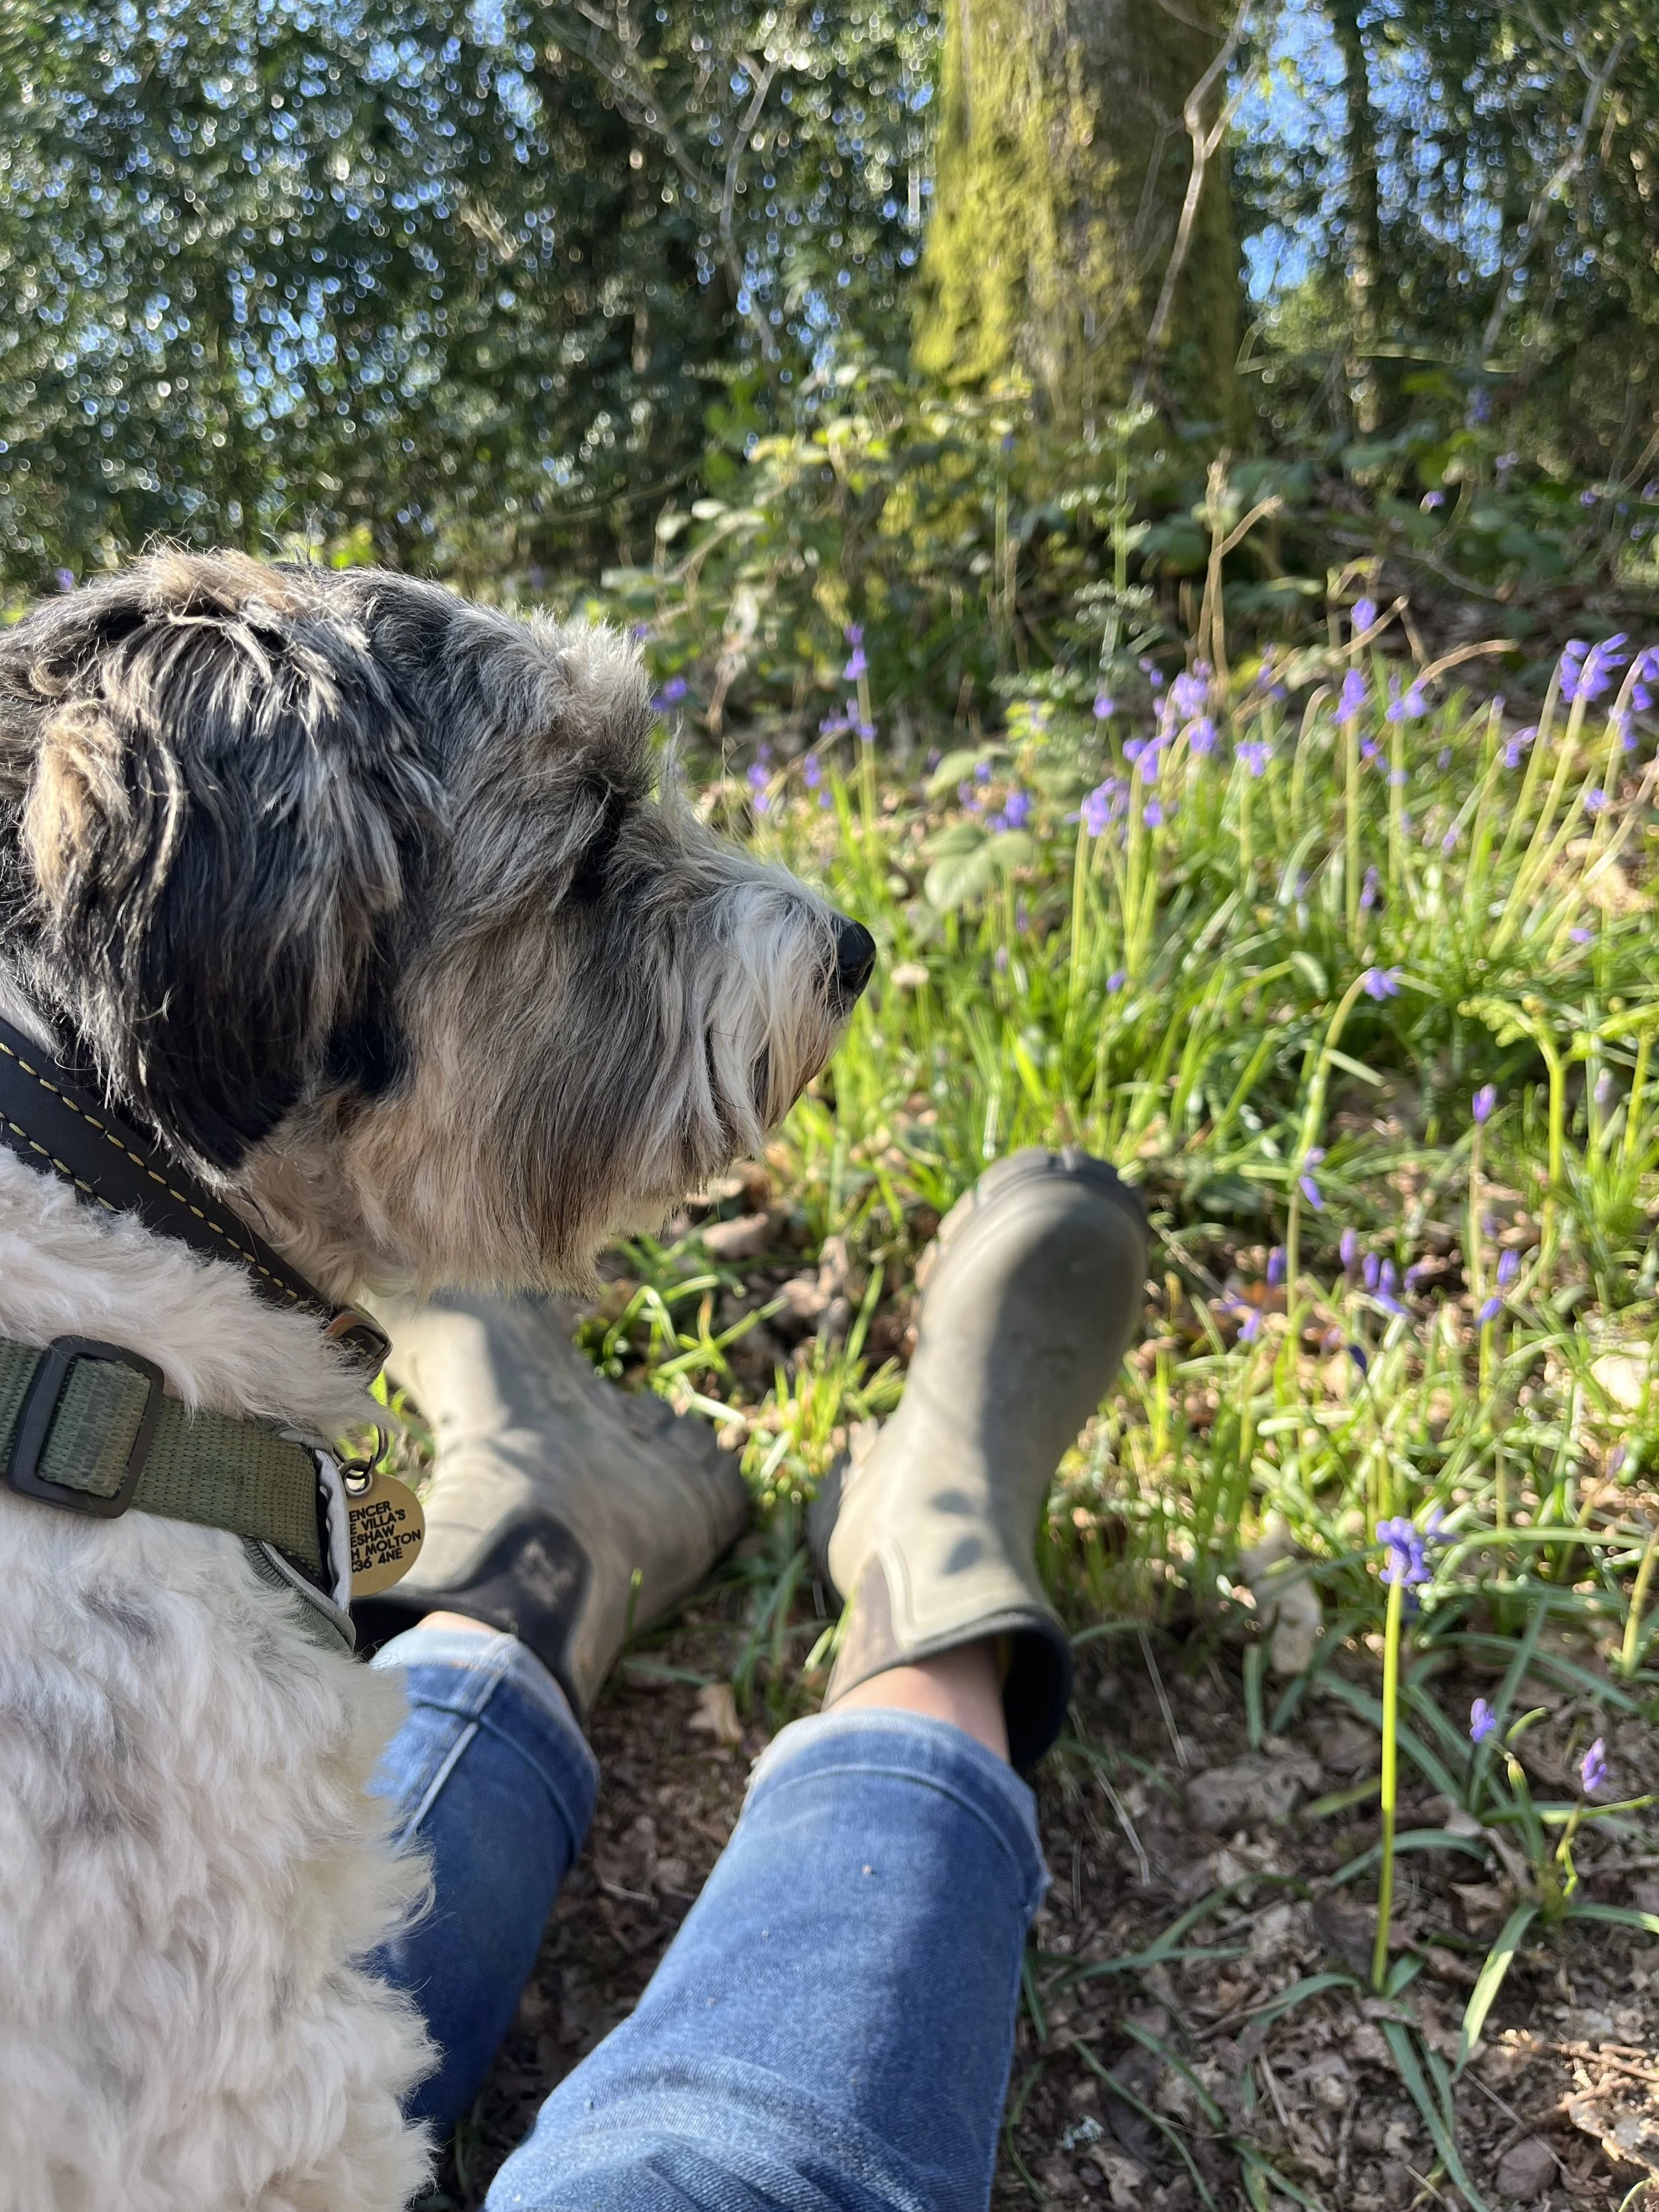
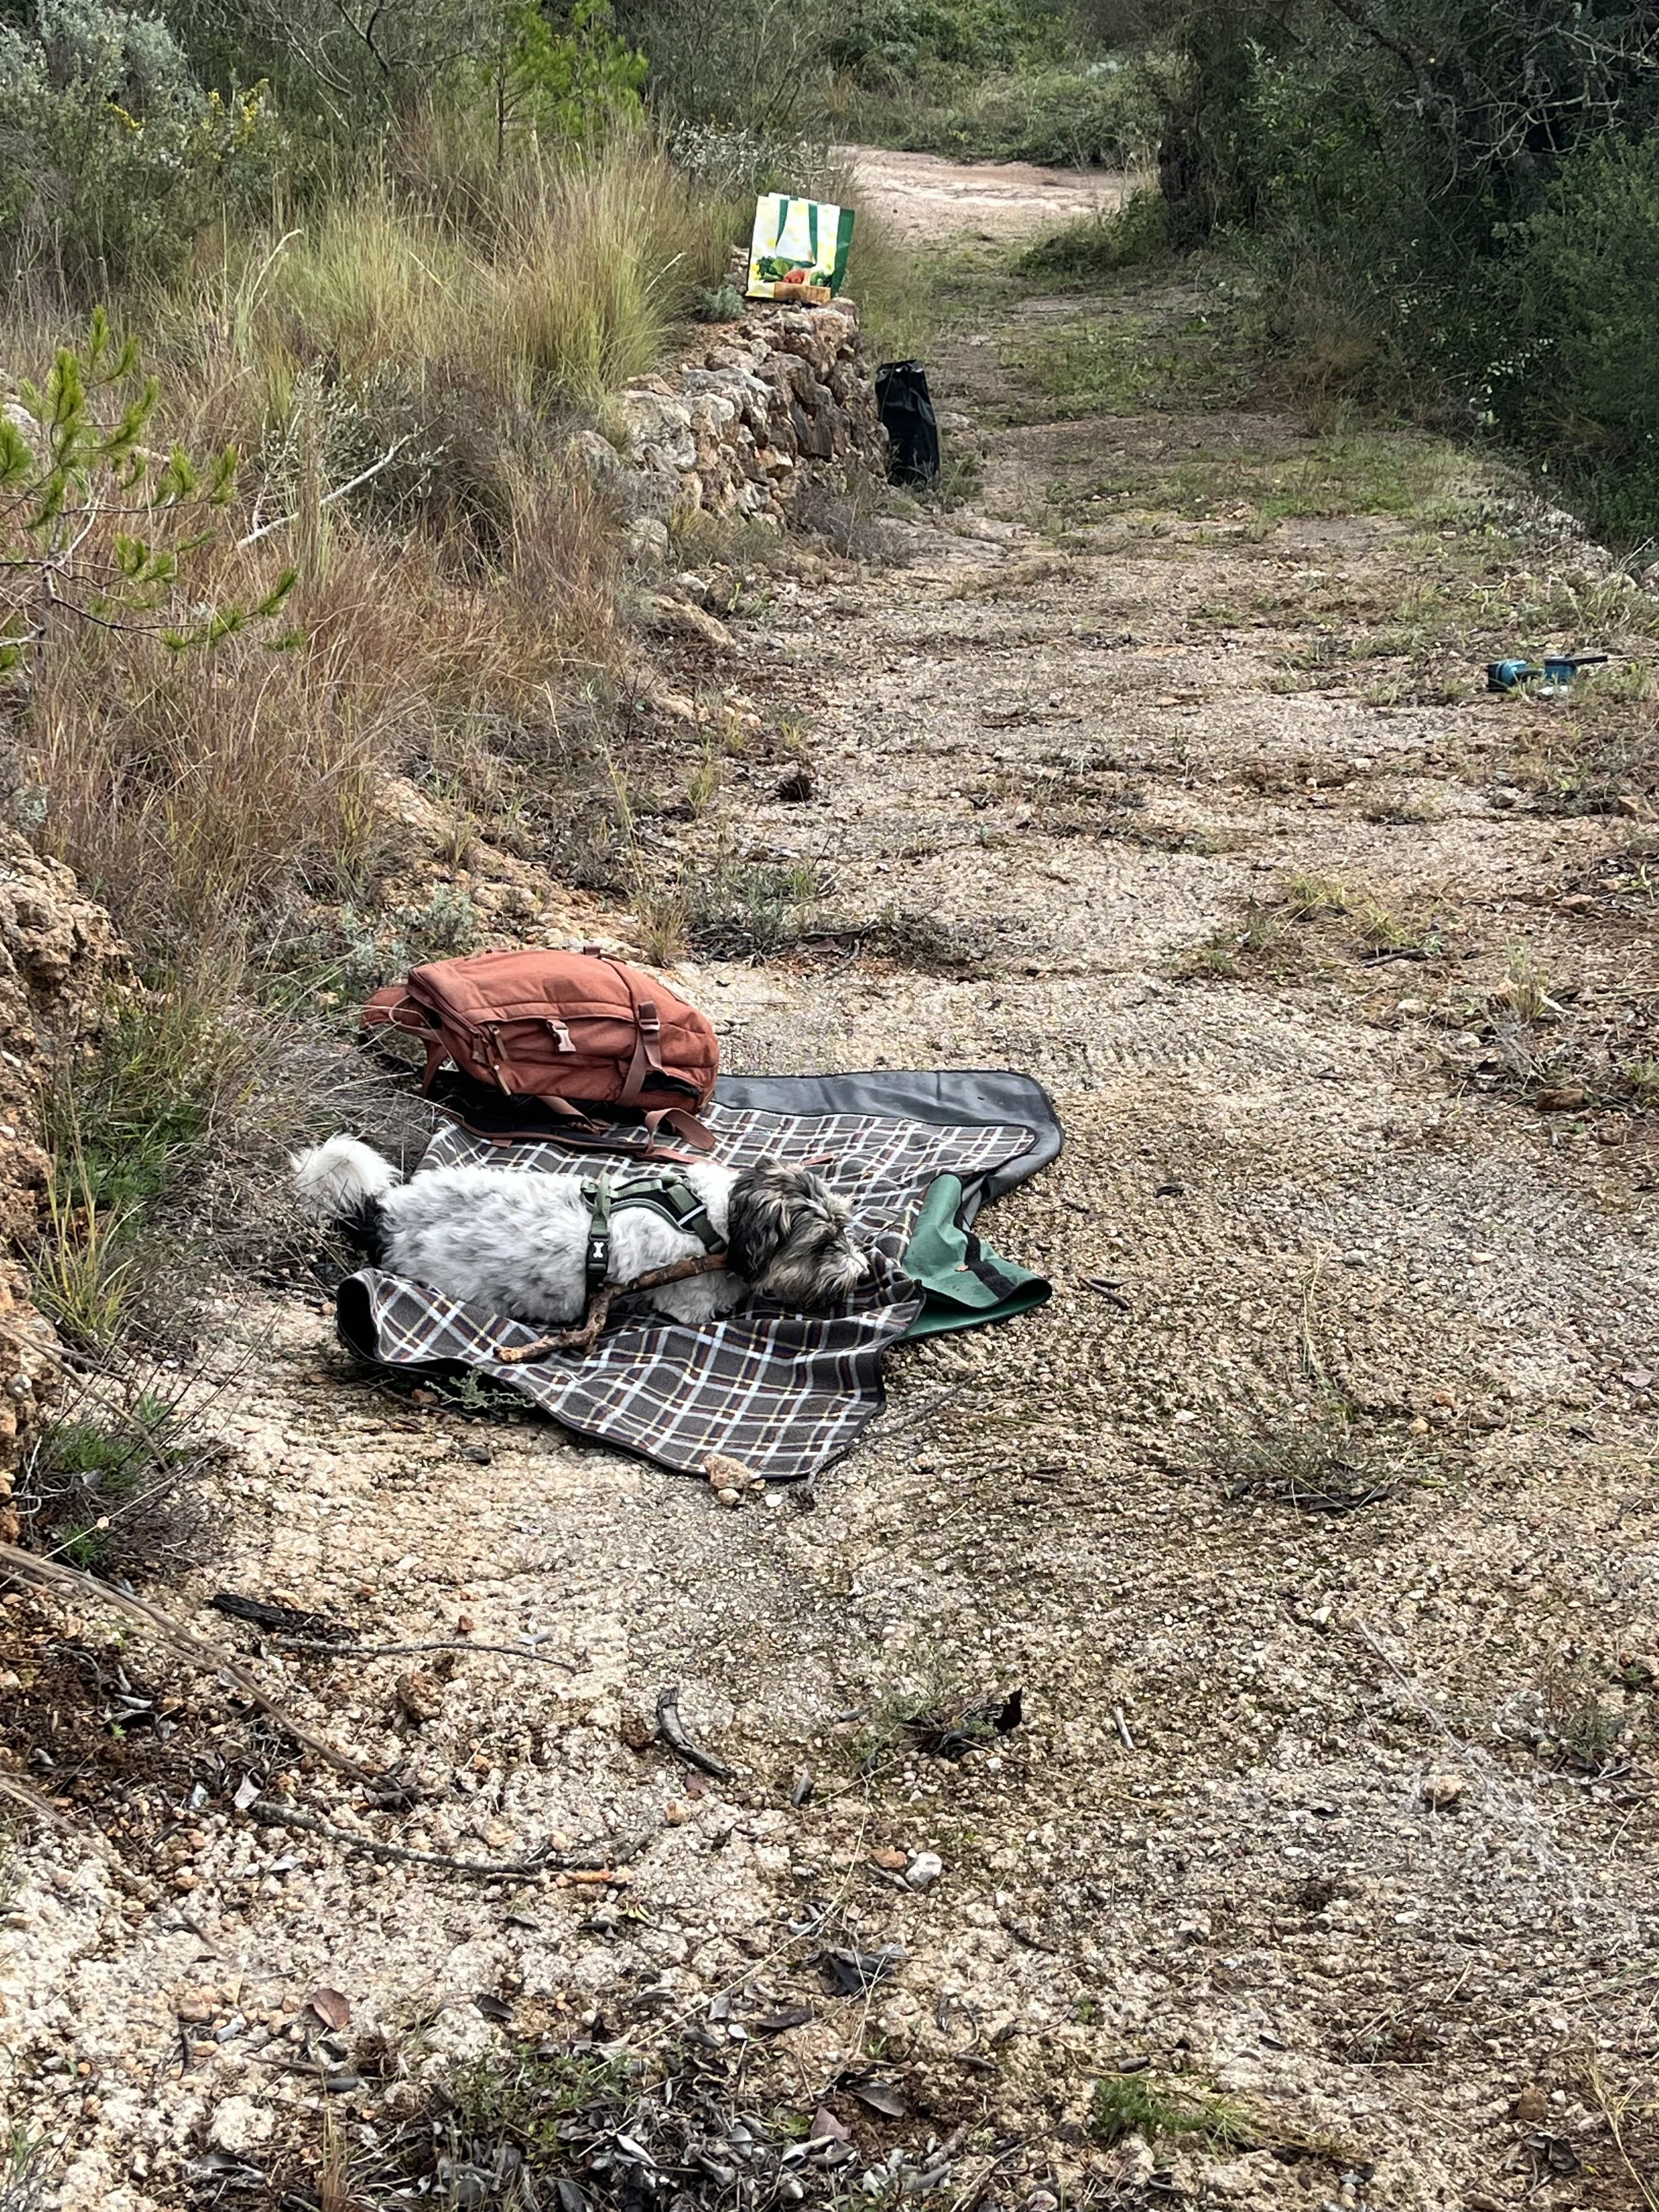
Taking a moment to listen to the birdsong, I opened up the Merlin app on my phone. Already hearing Blackbirds, a Robin and a Wren I was intrigued to know who else was hanging in this corner of the beech trees and blooms. After a little love up with Ned, I settled into some drawing whilst he rootled around in the undergrowth.
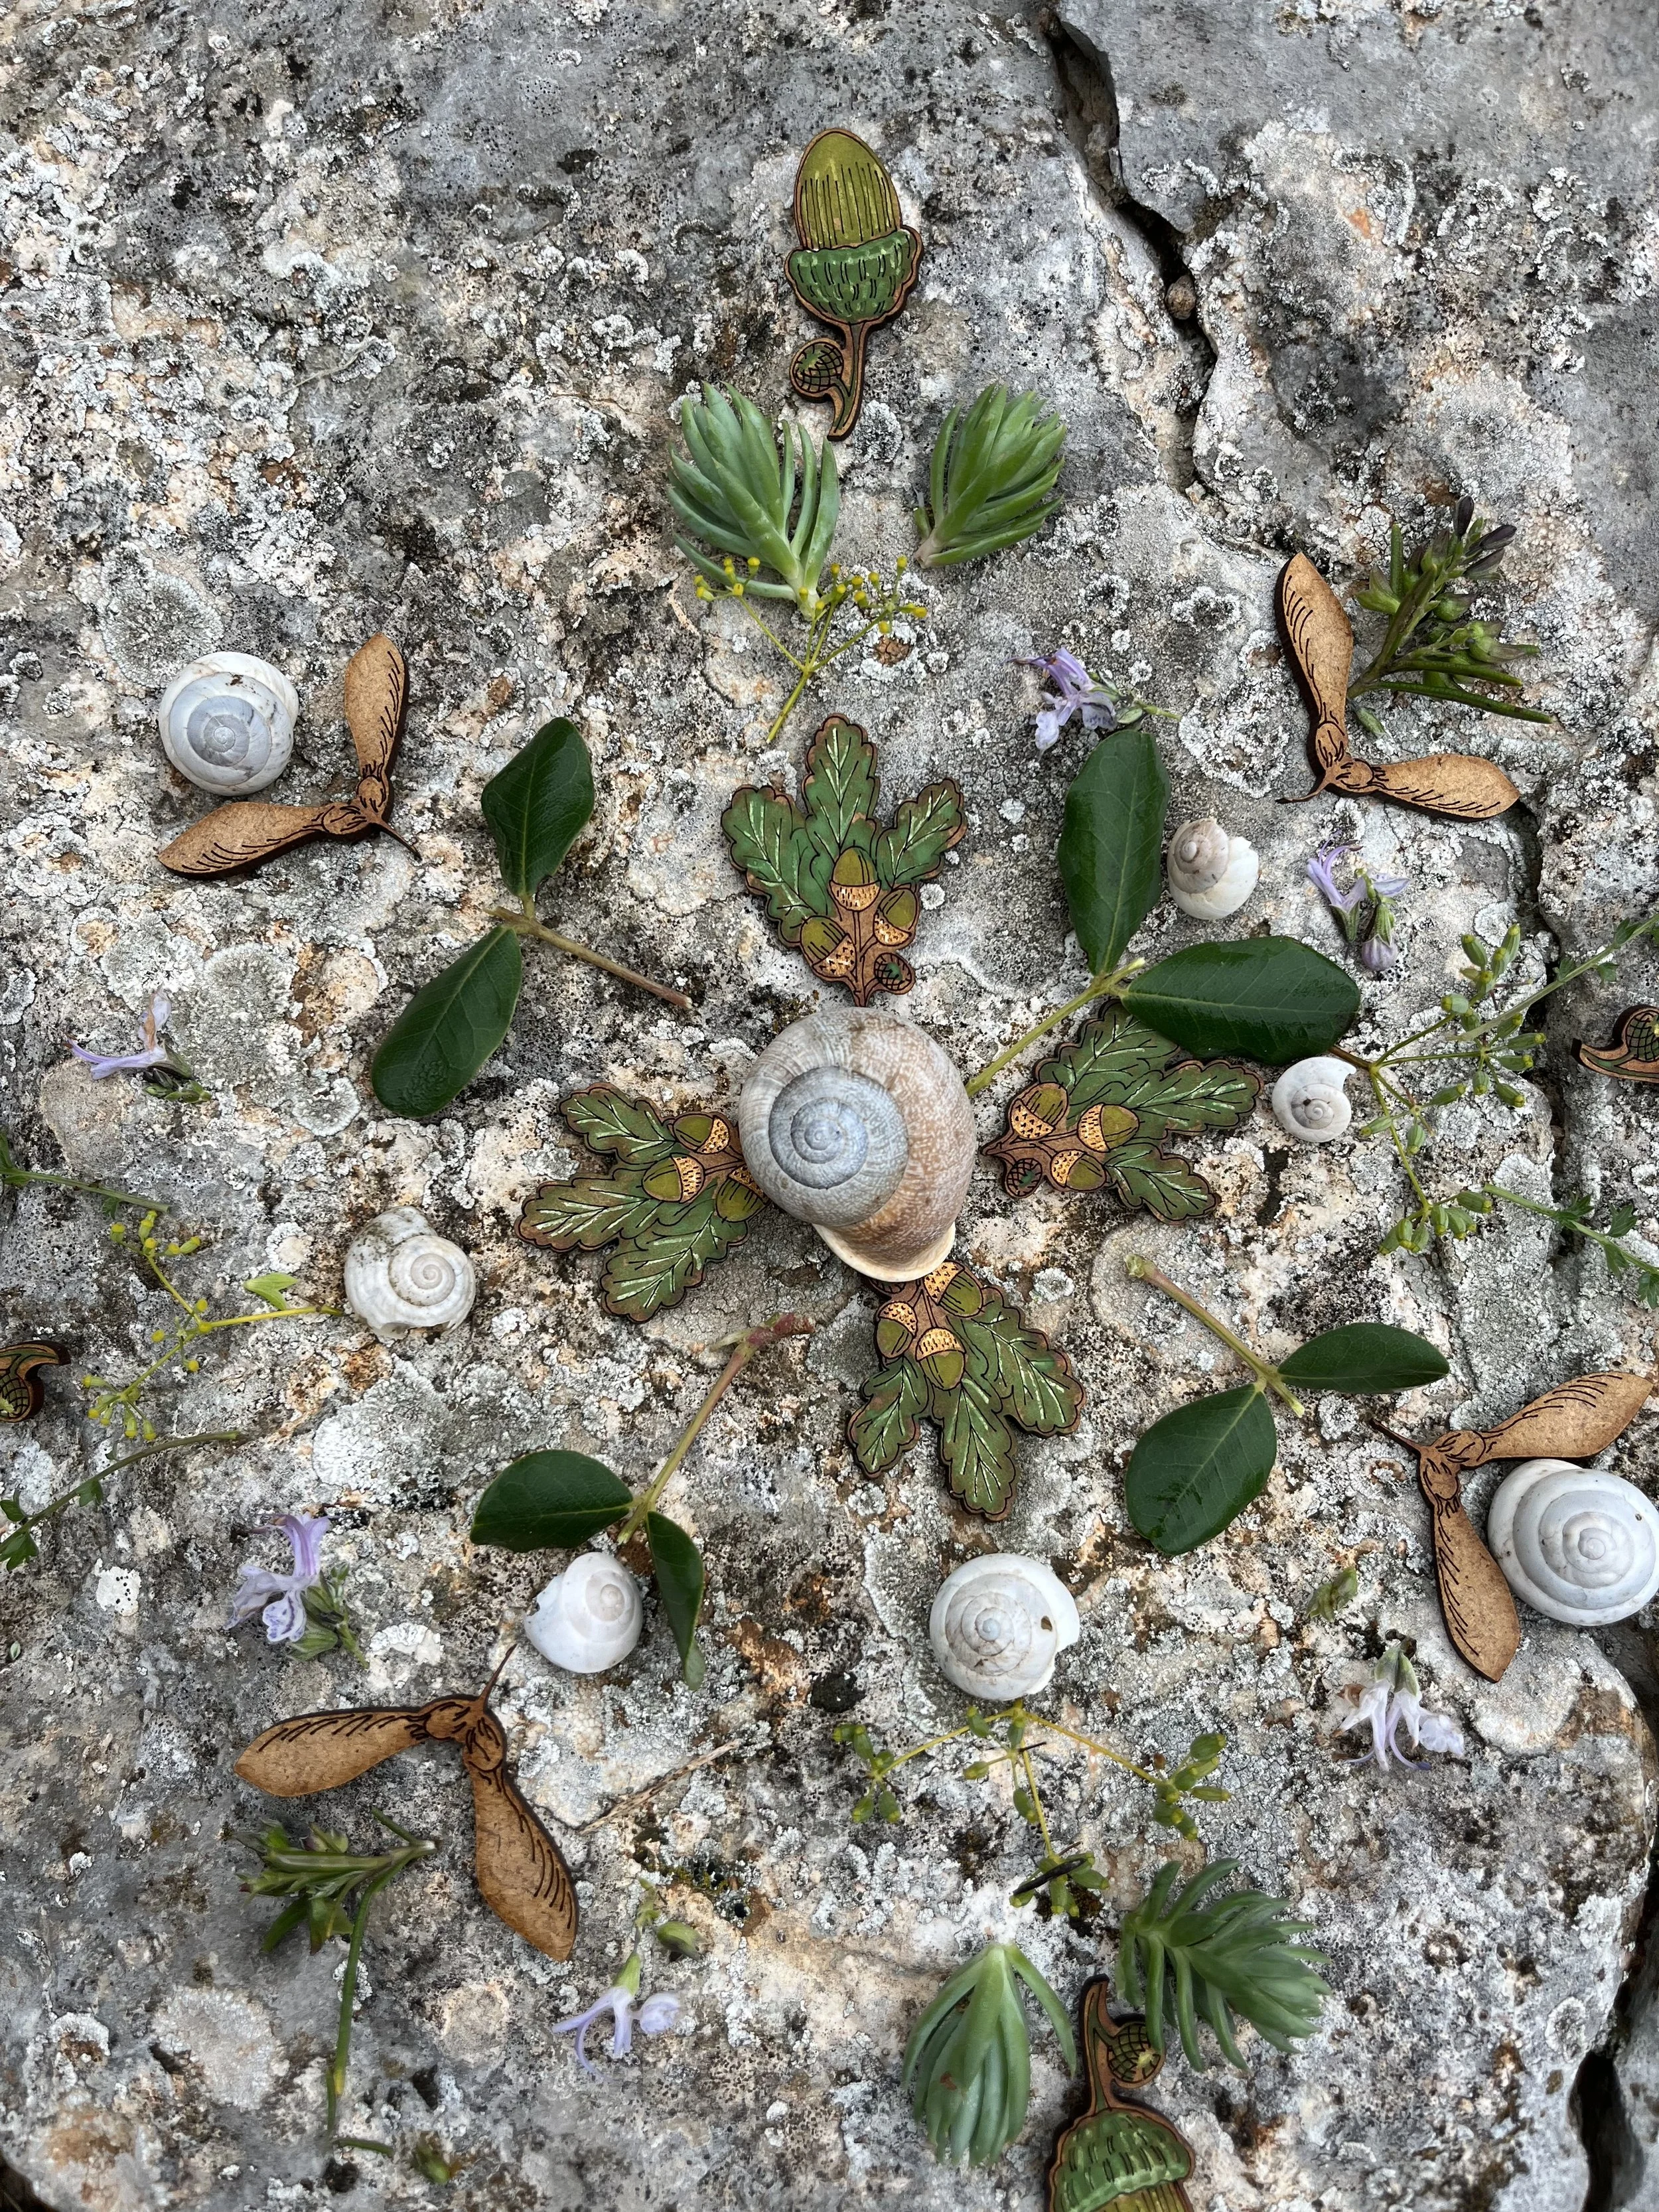
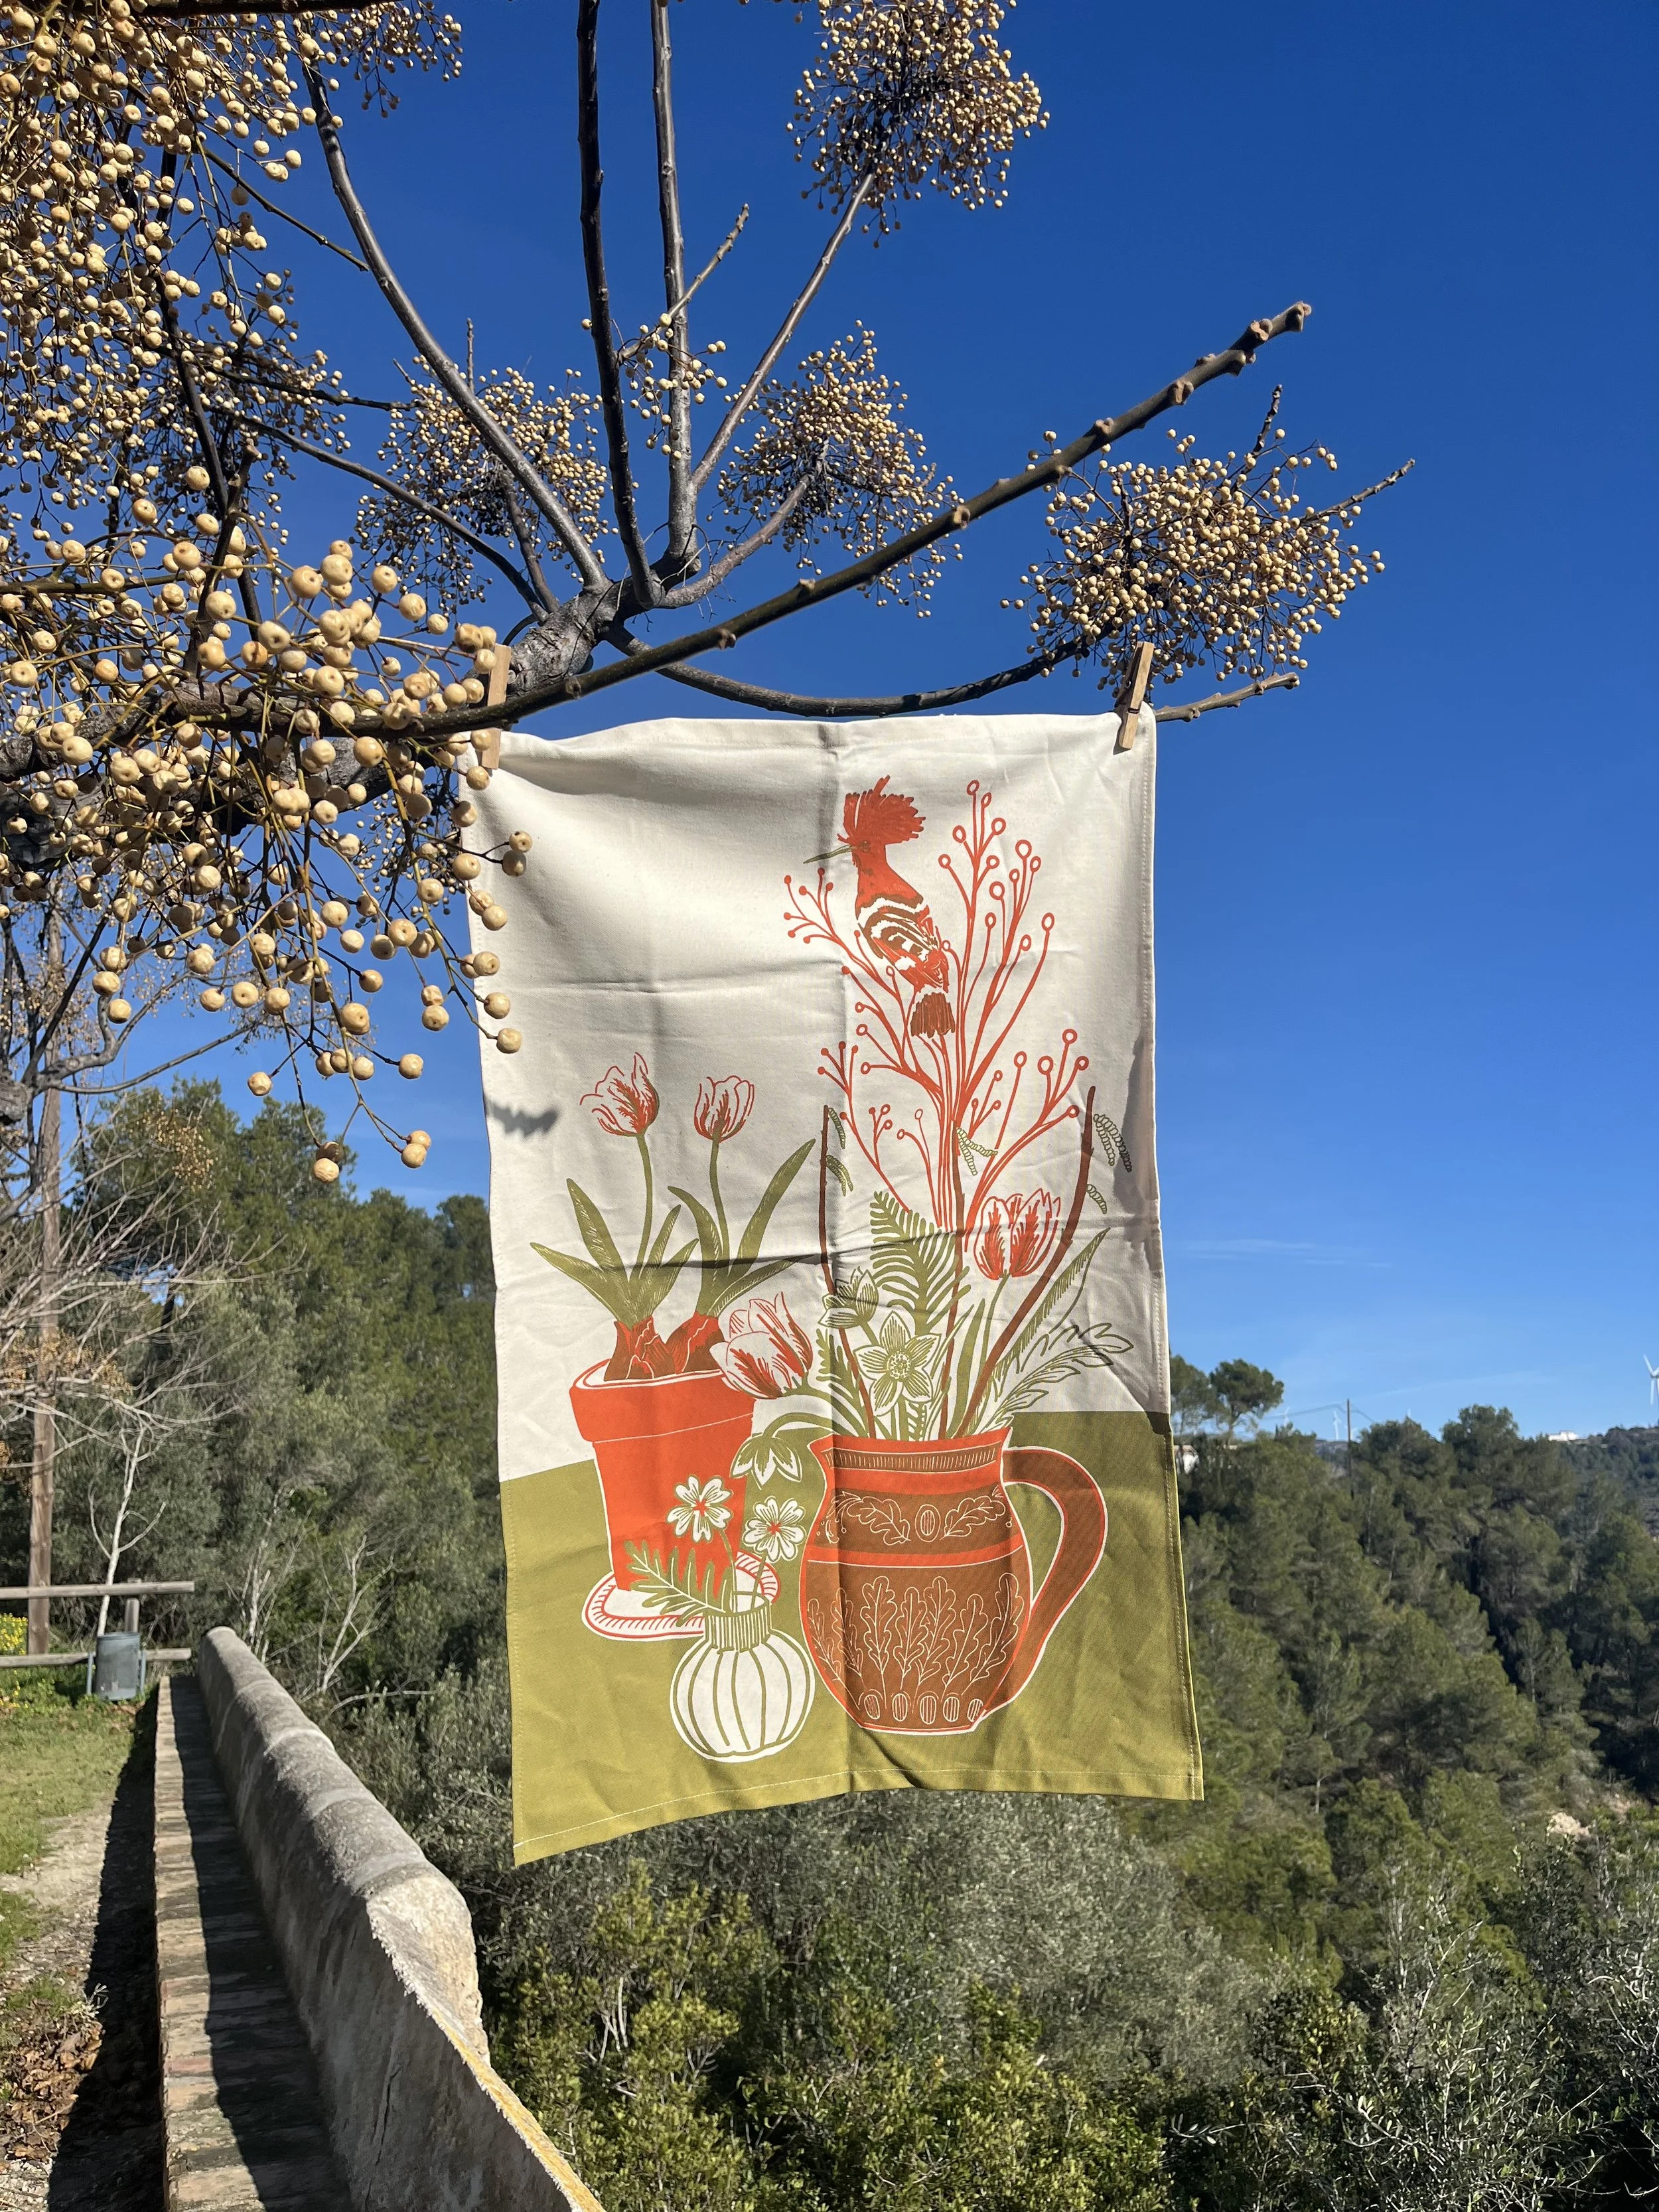
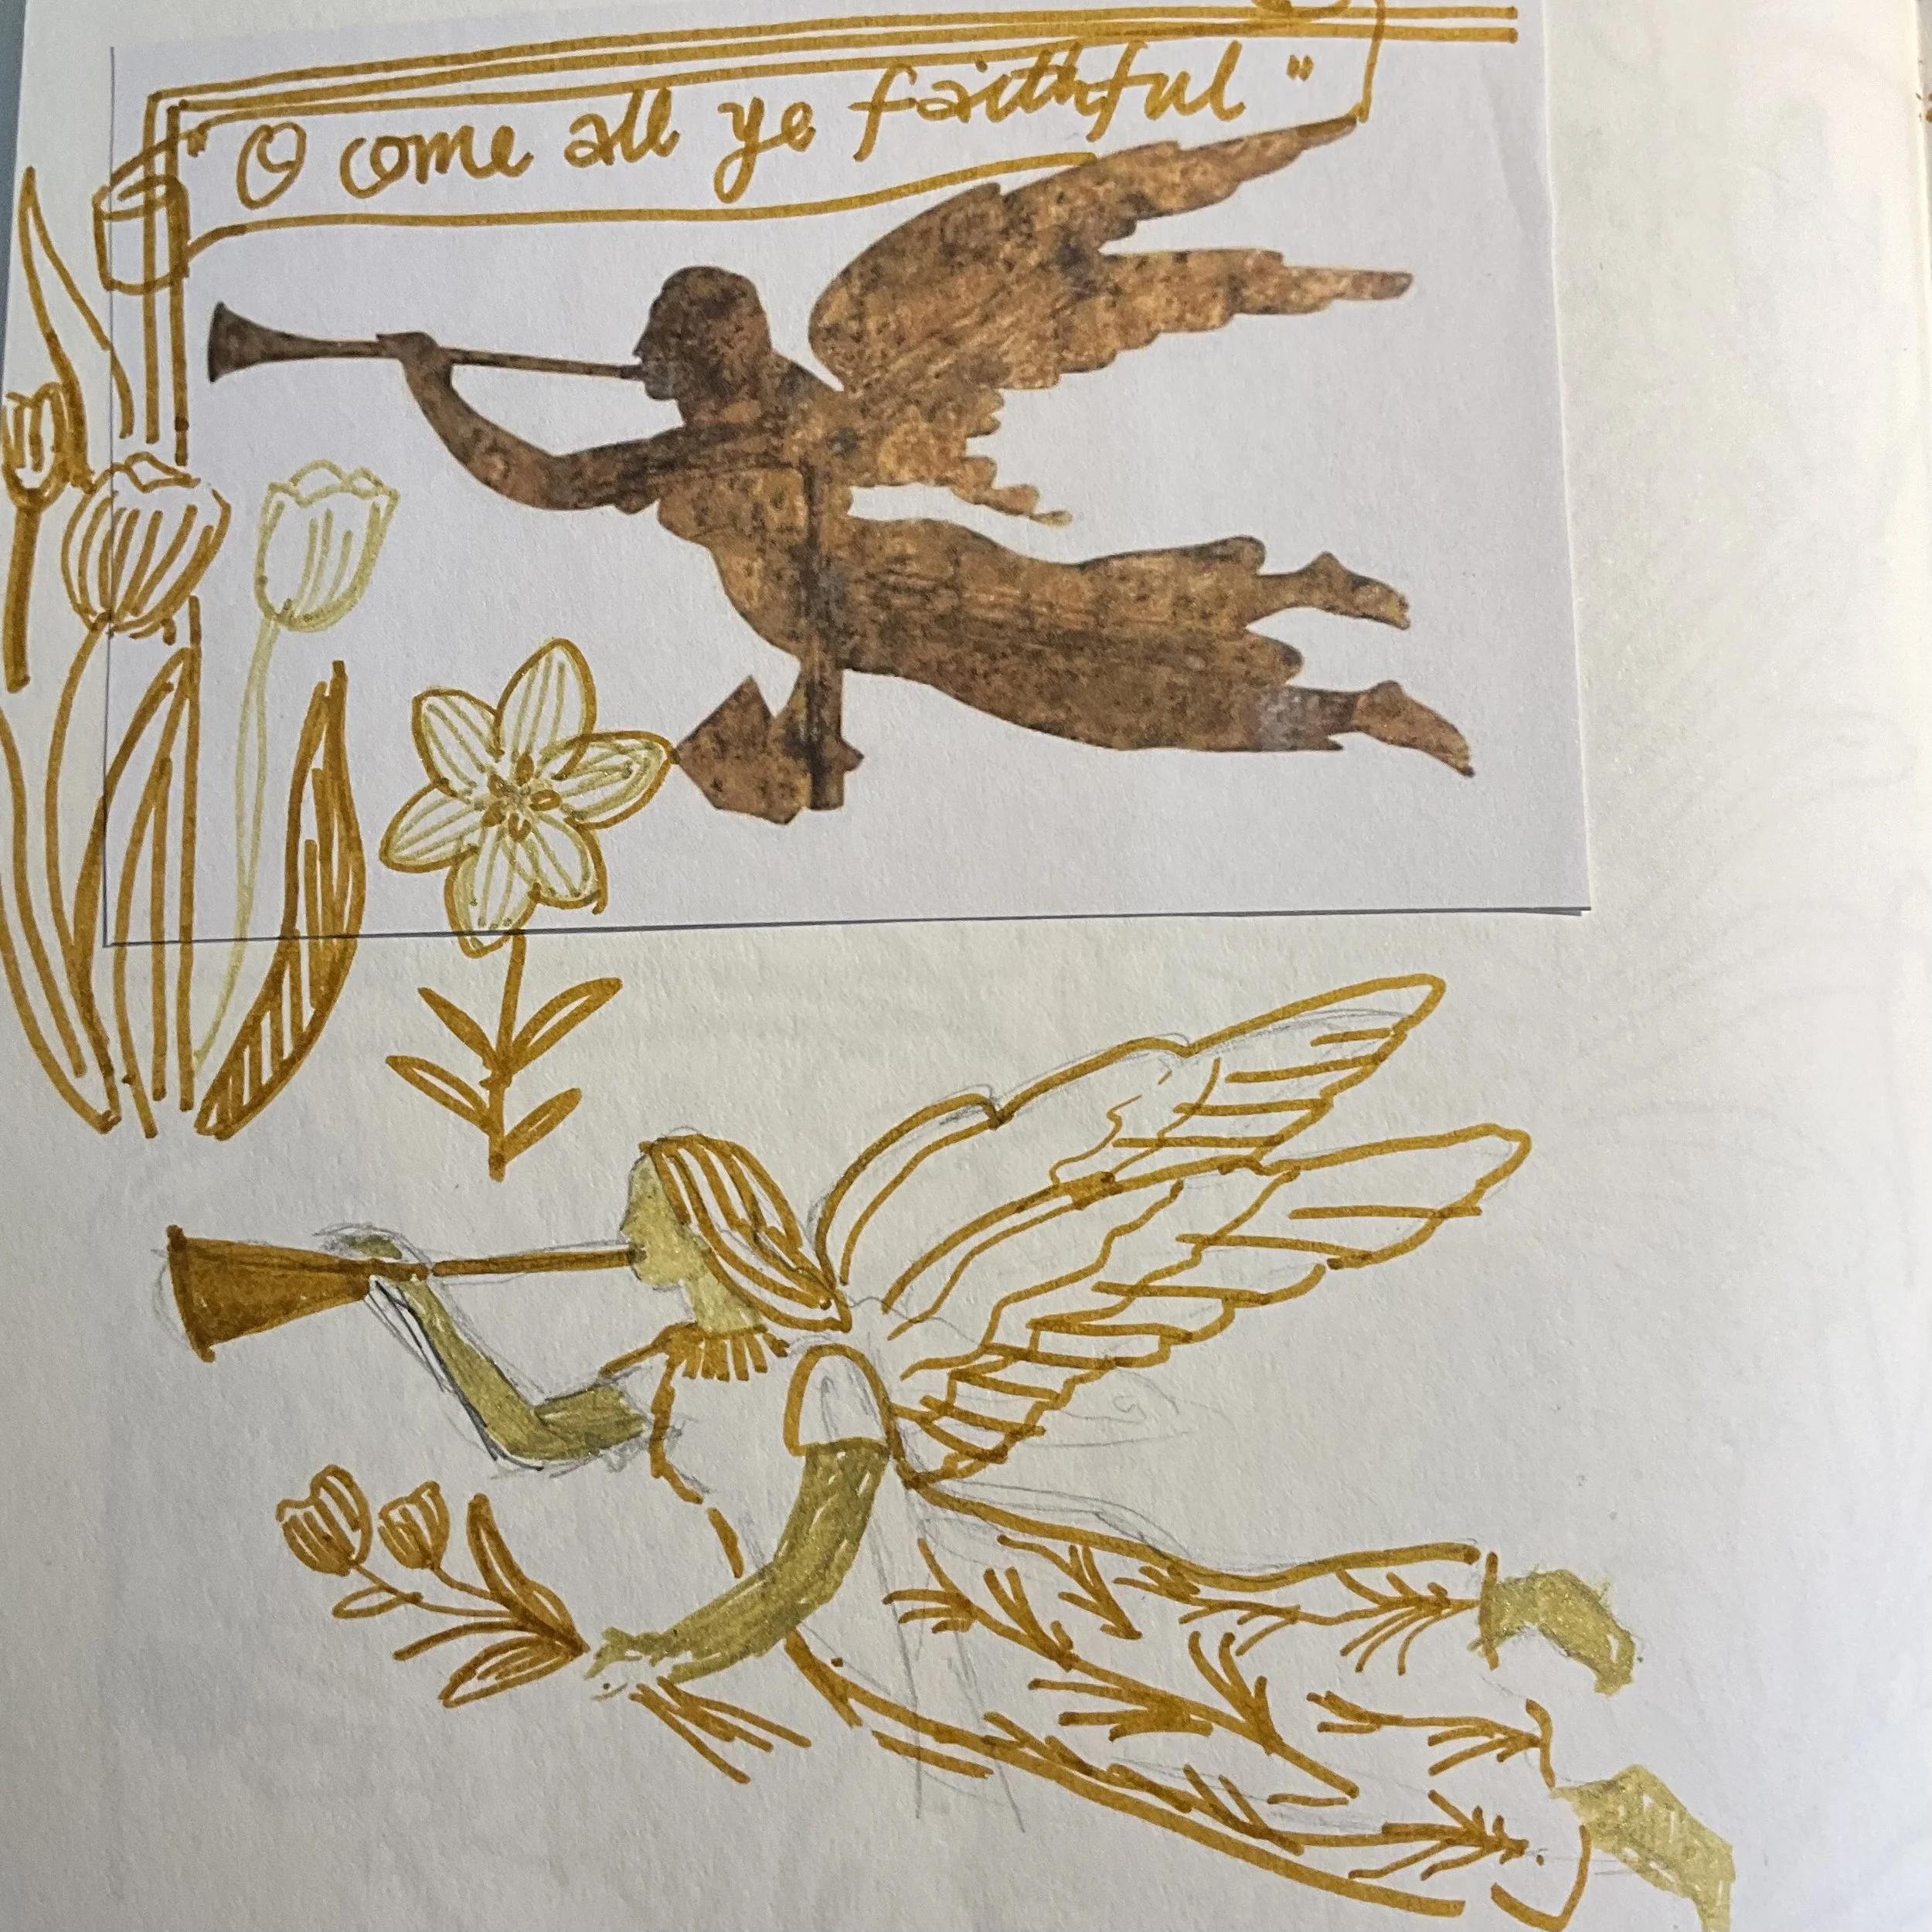
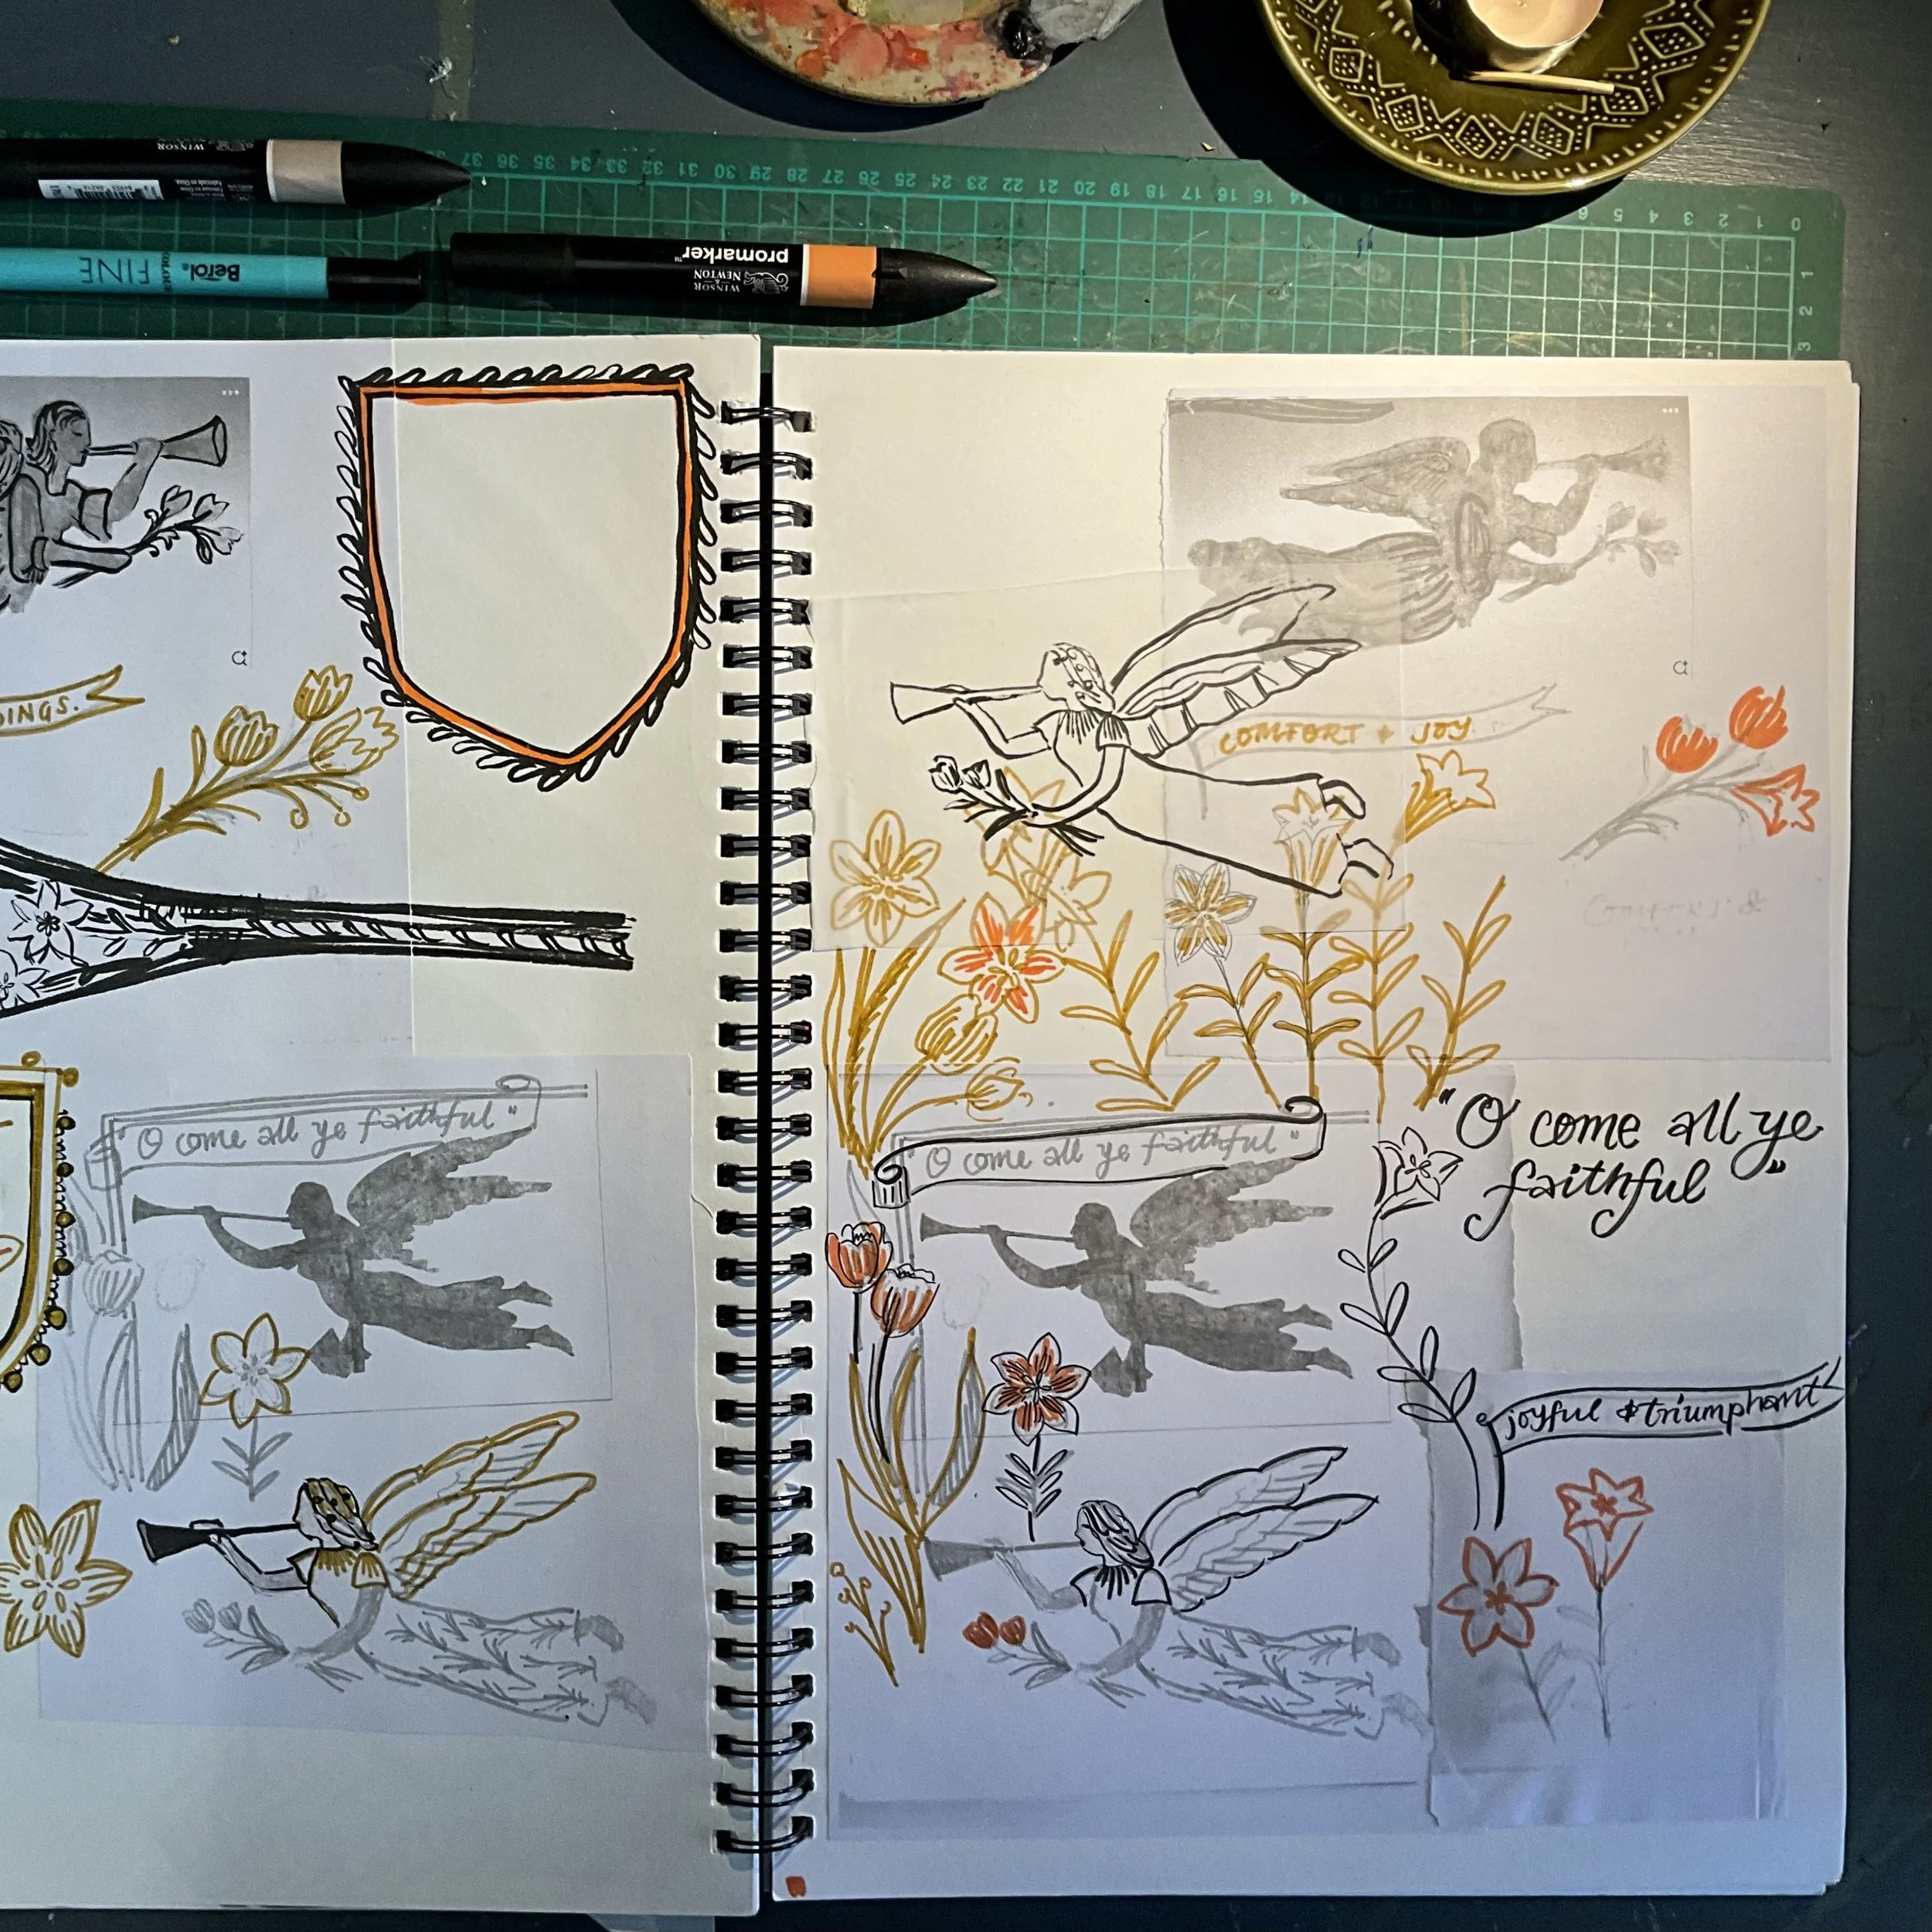
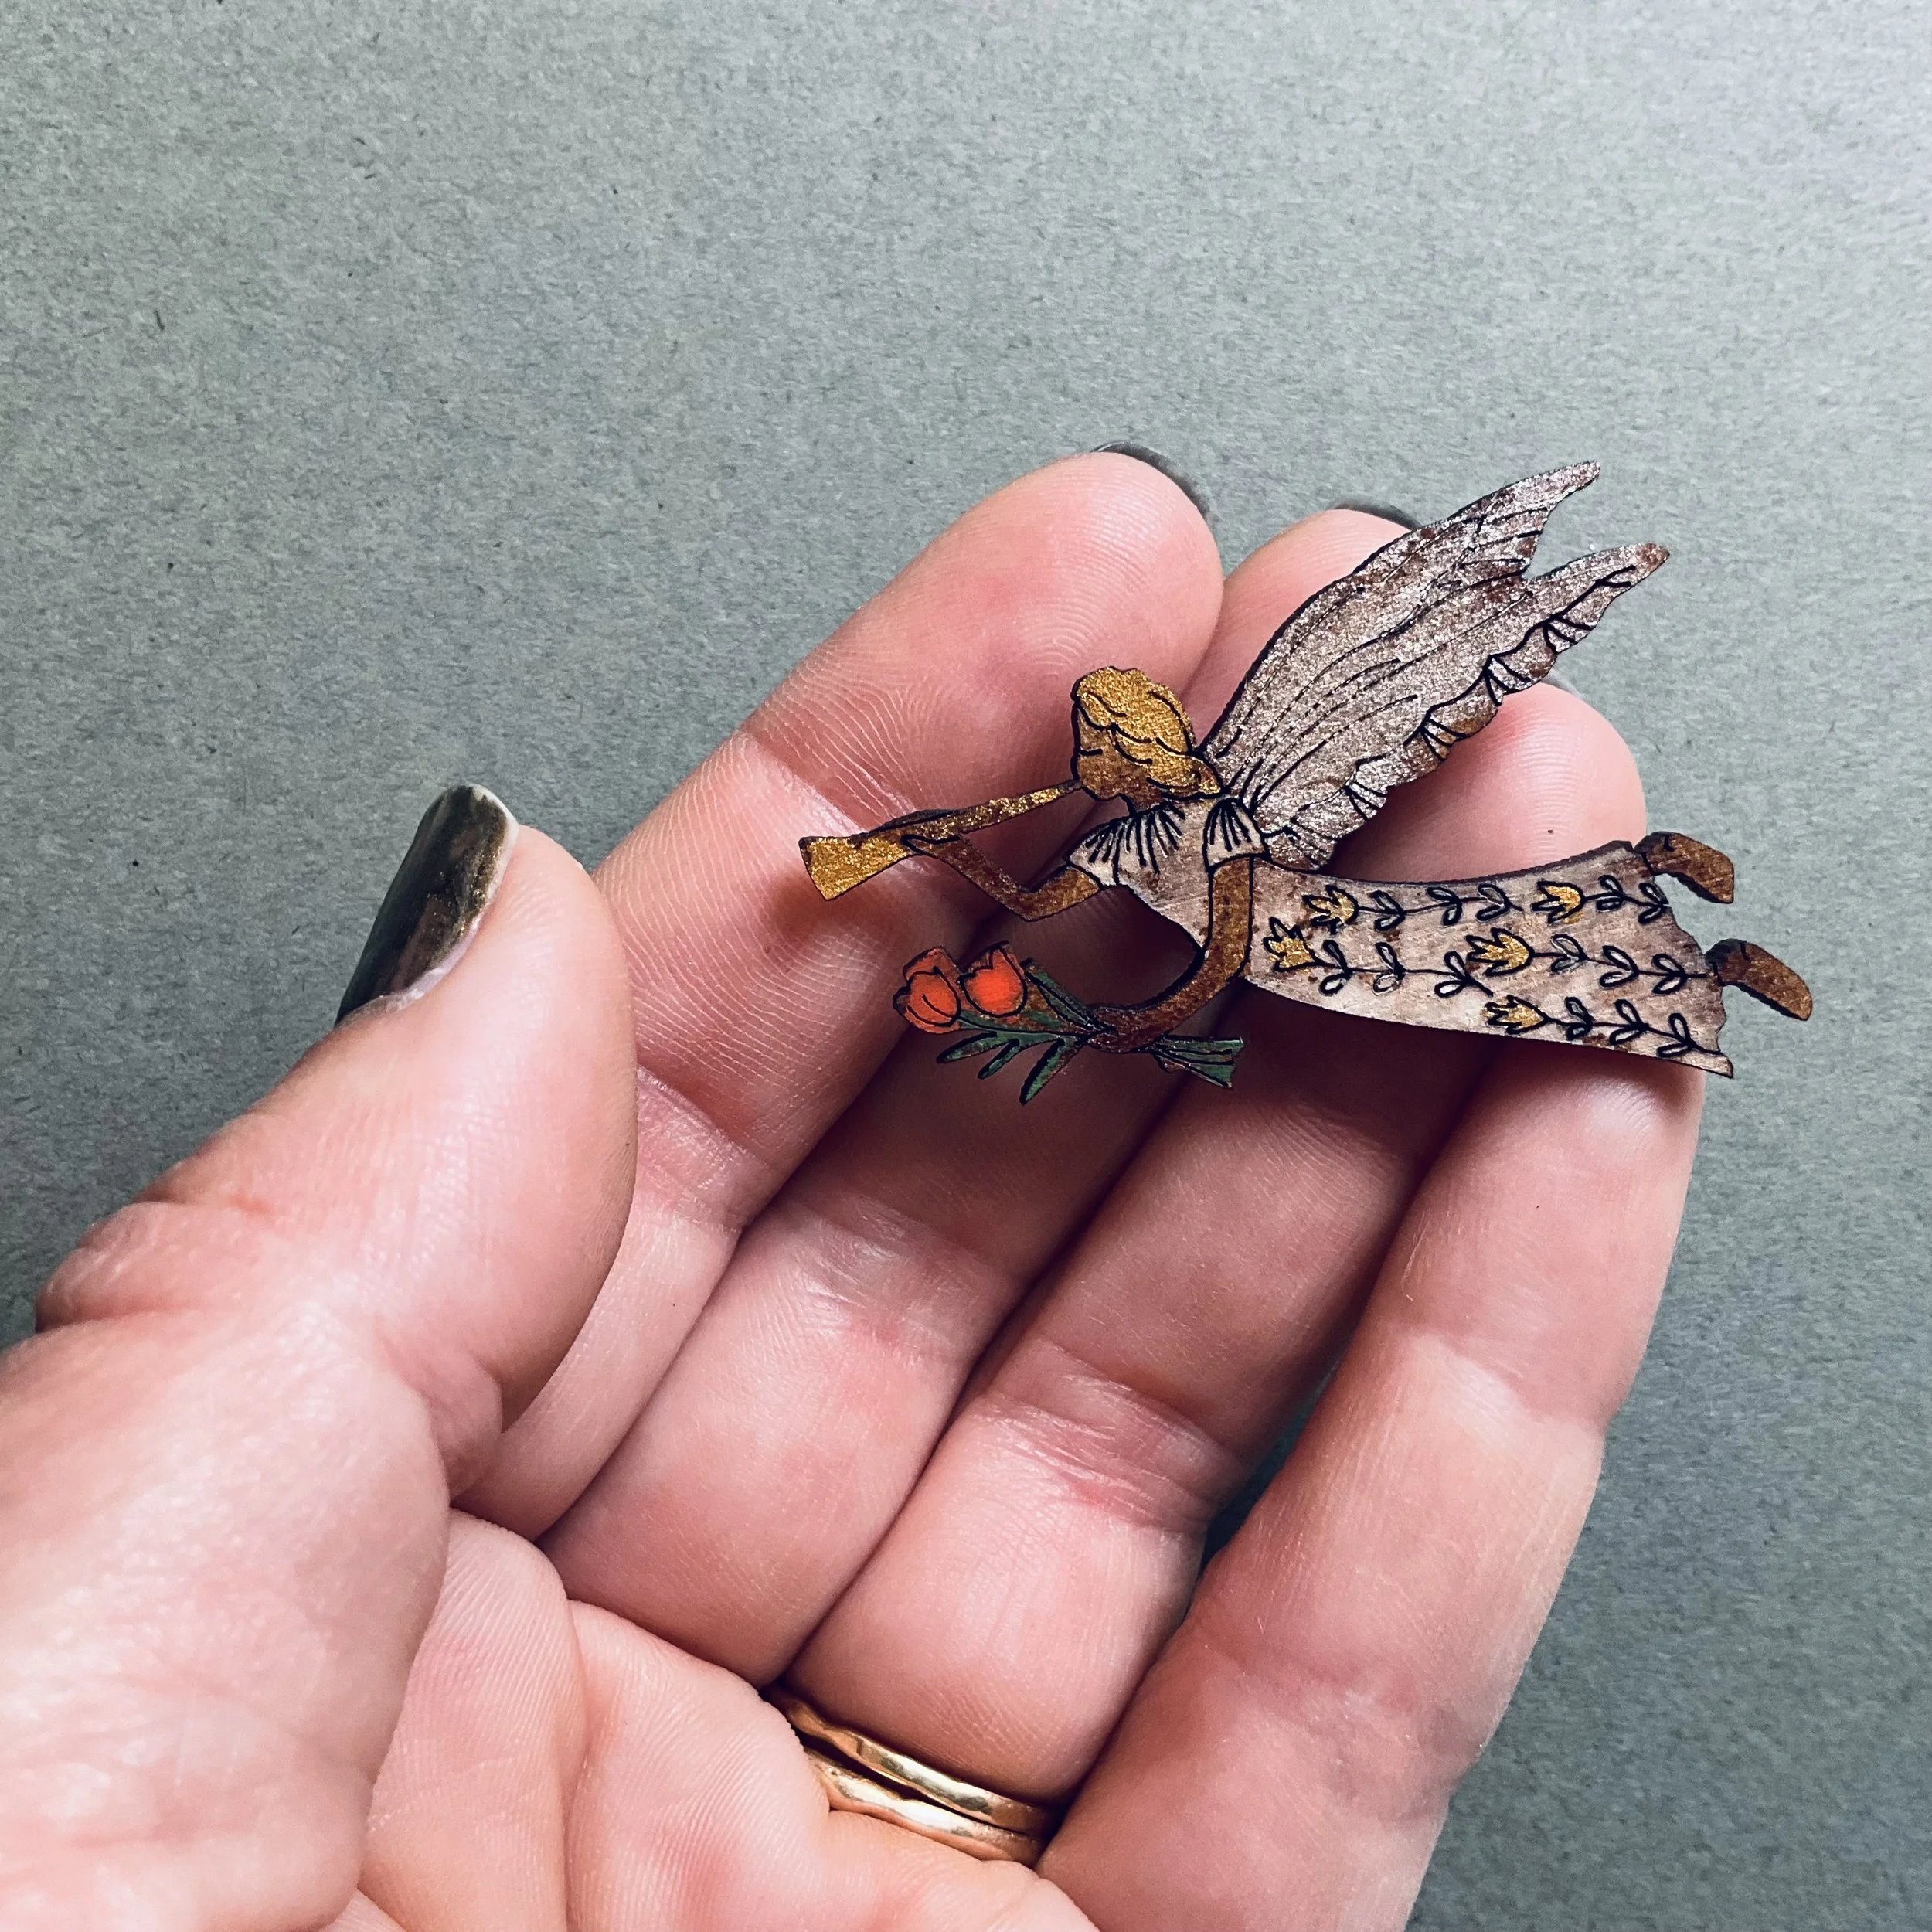
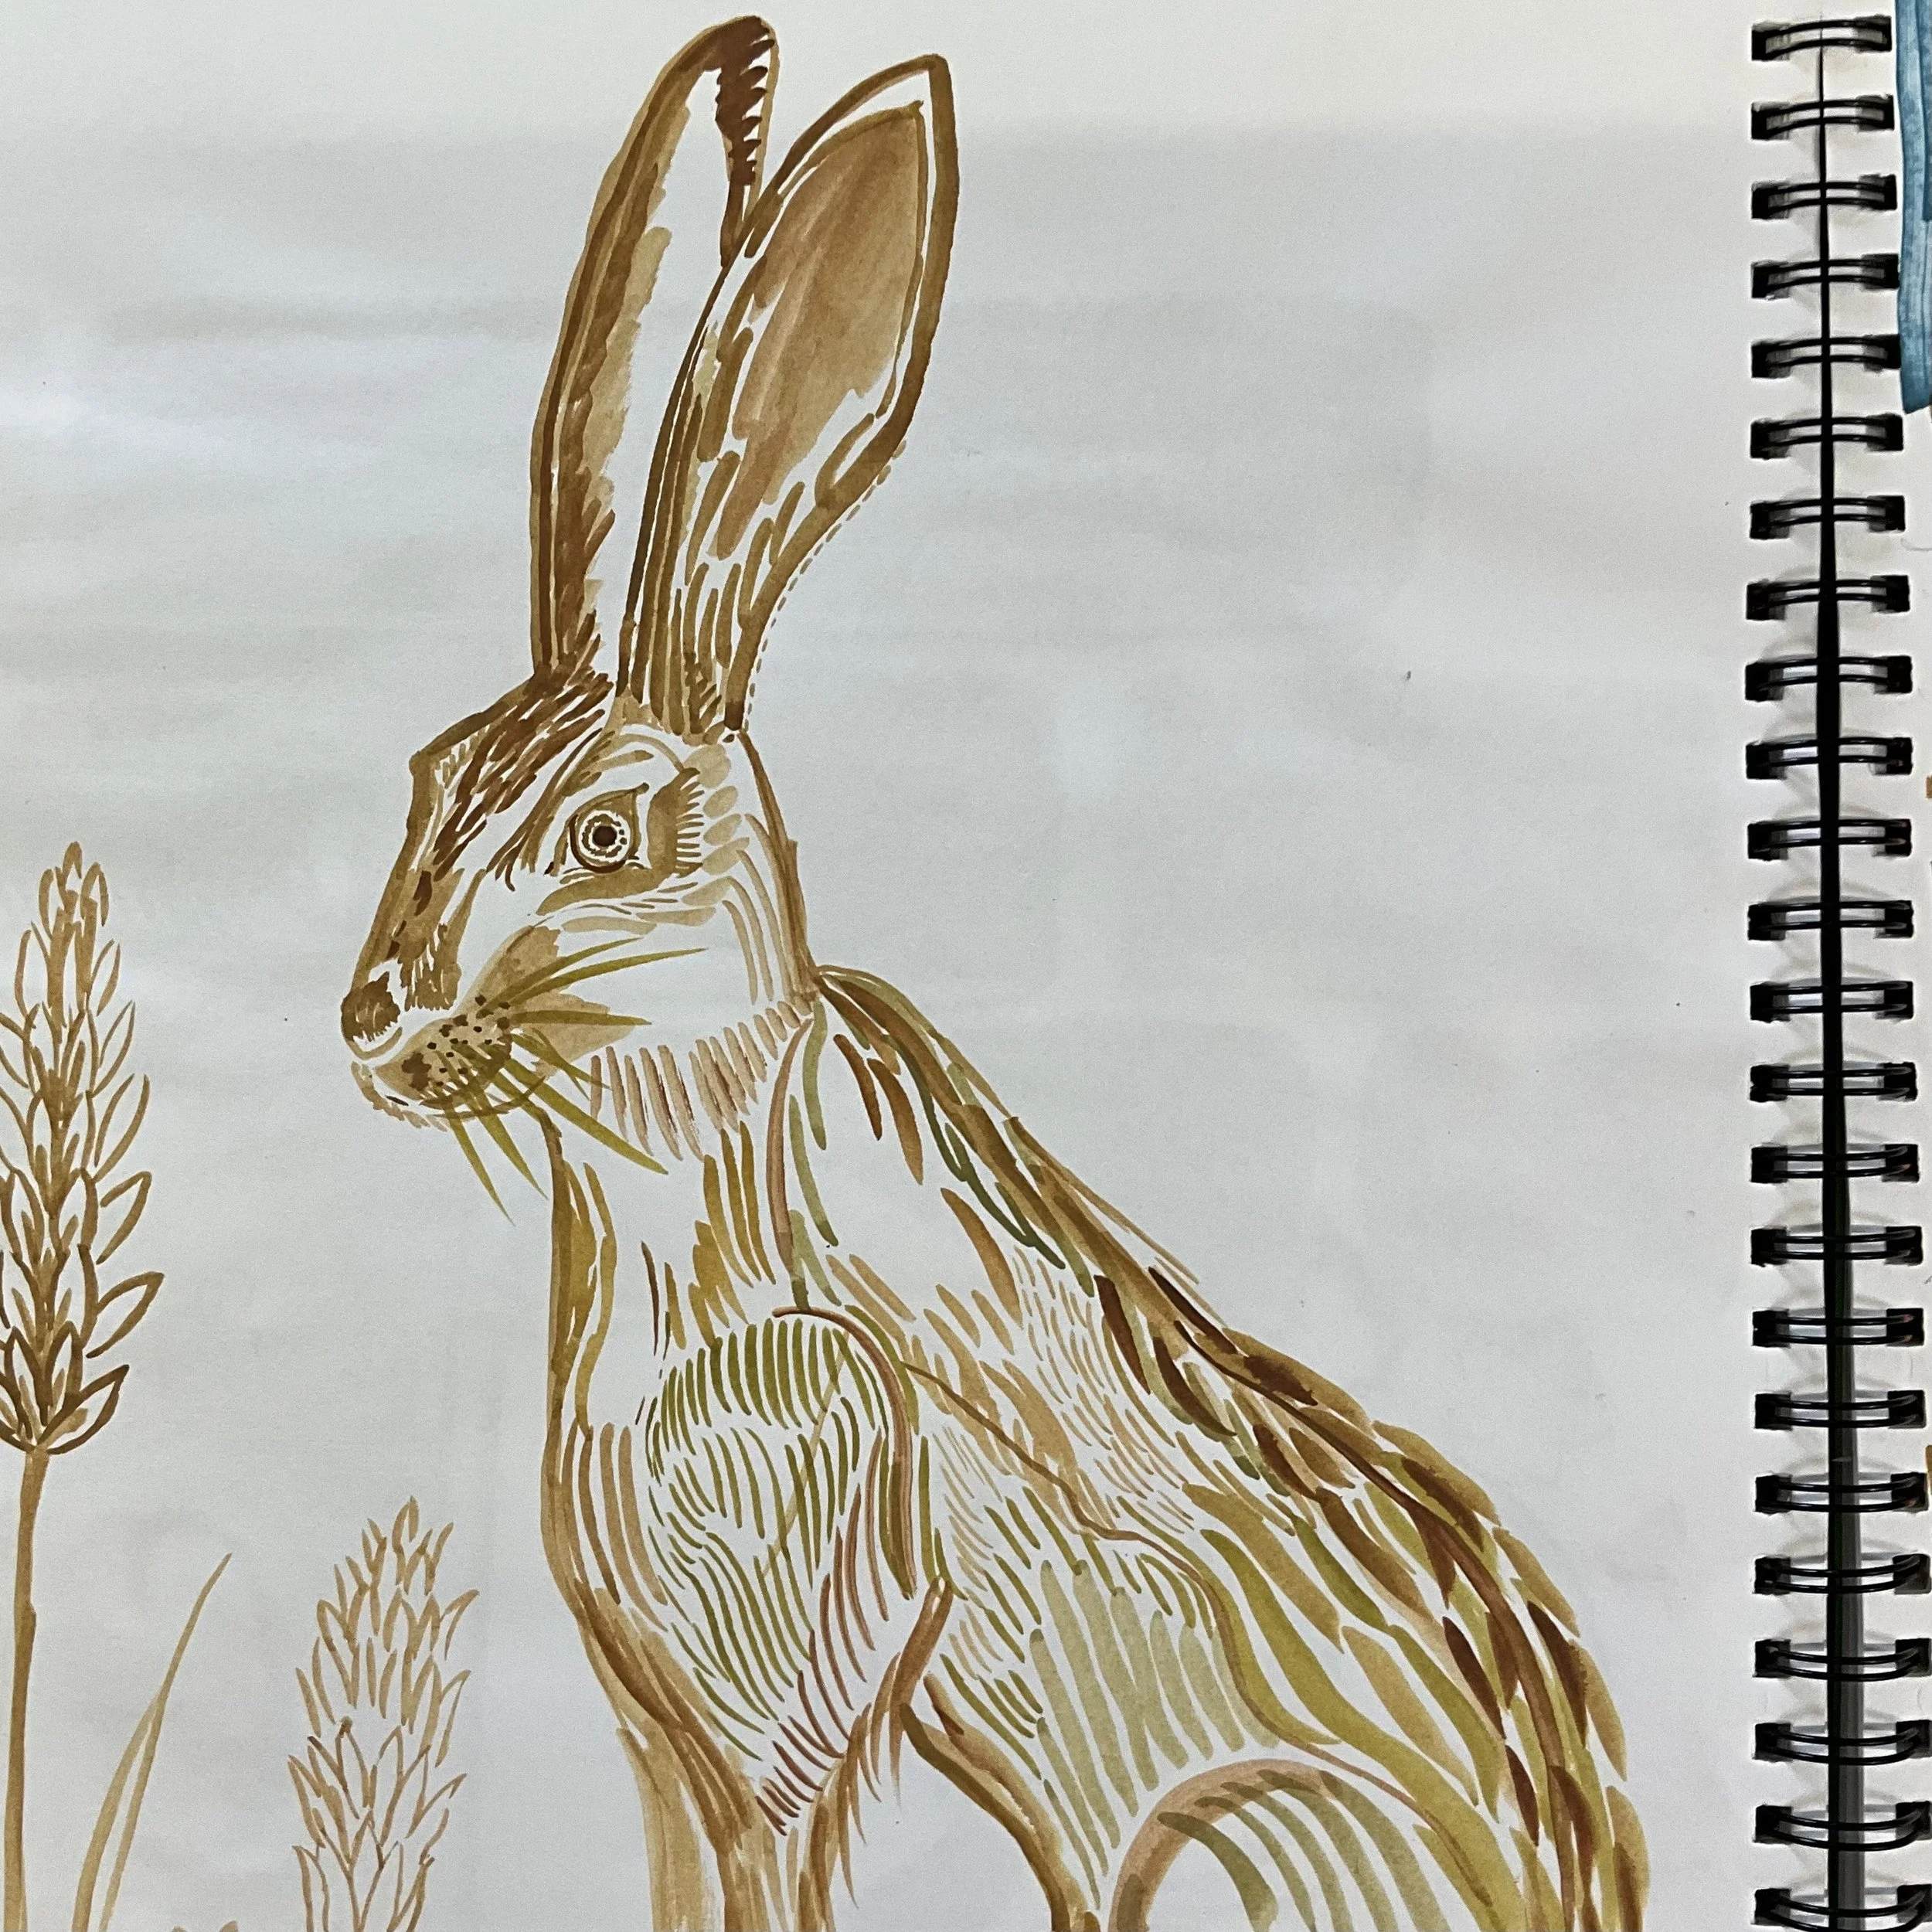
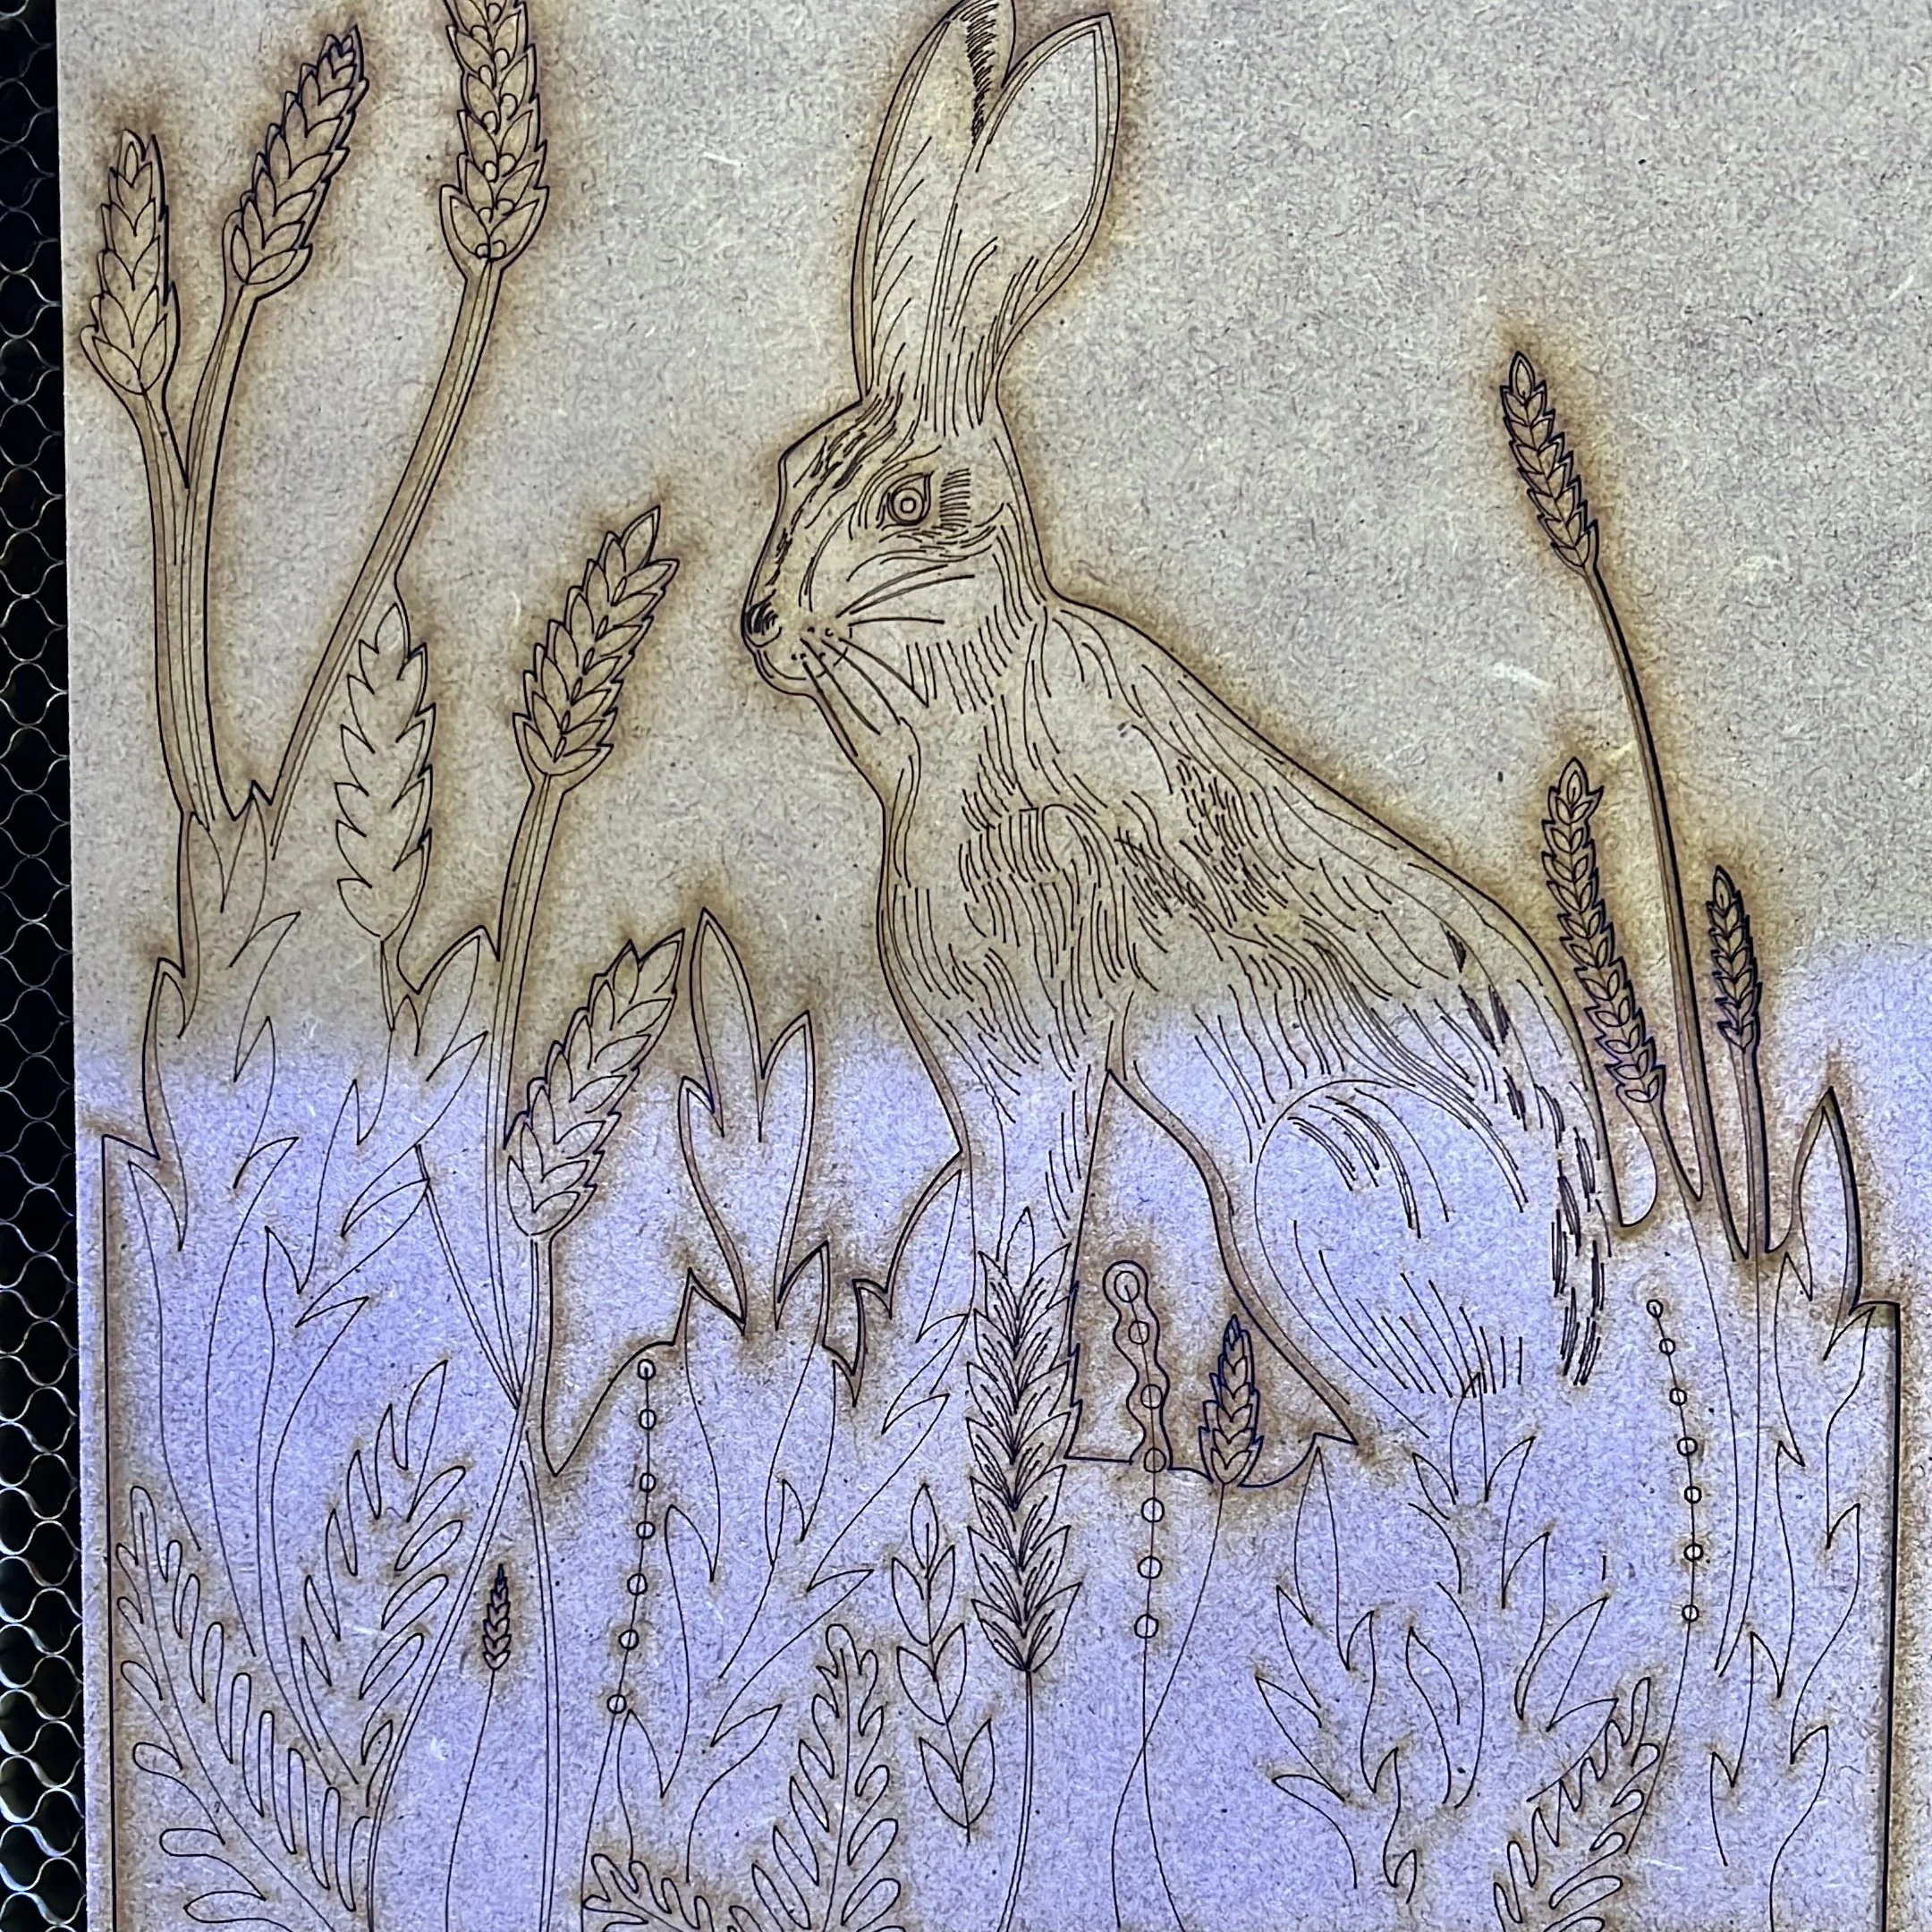
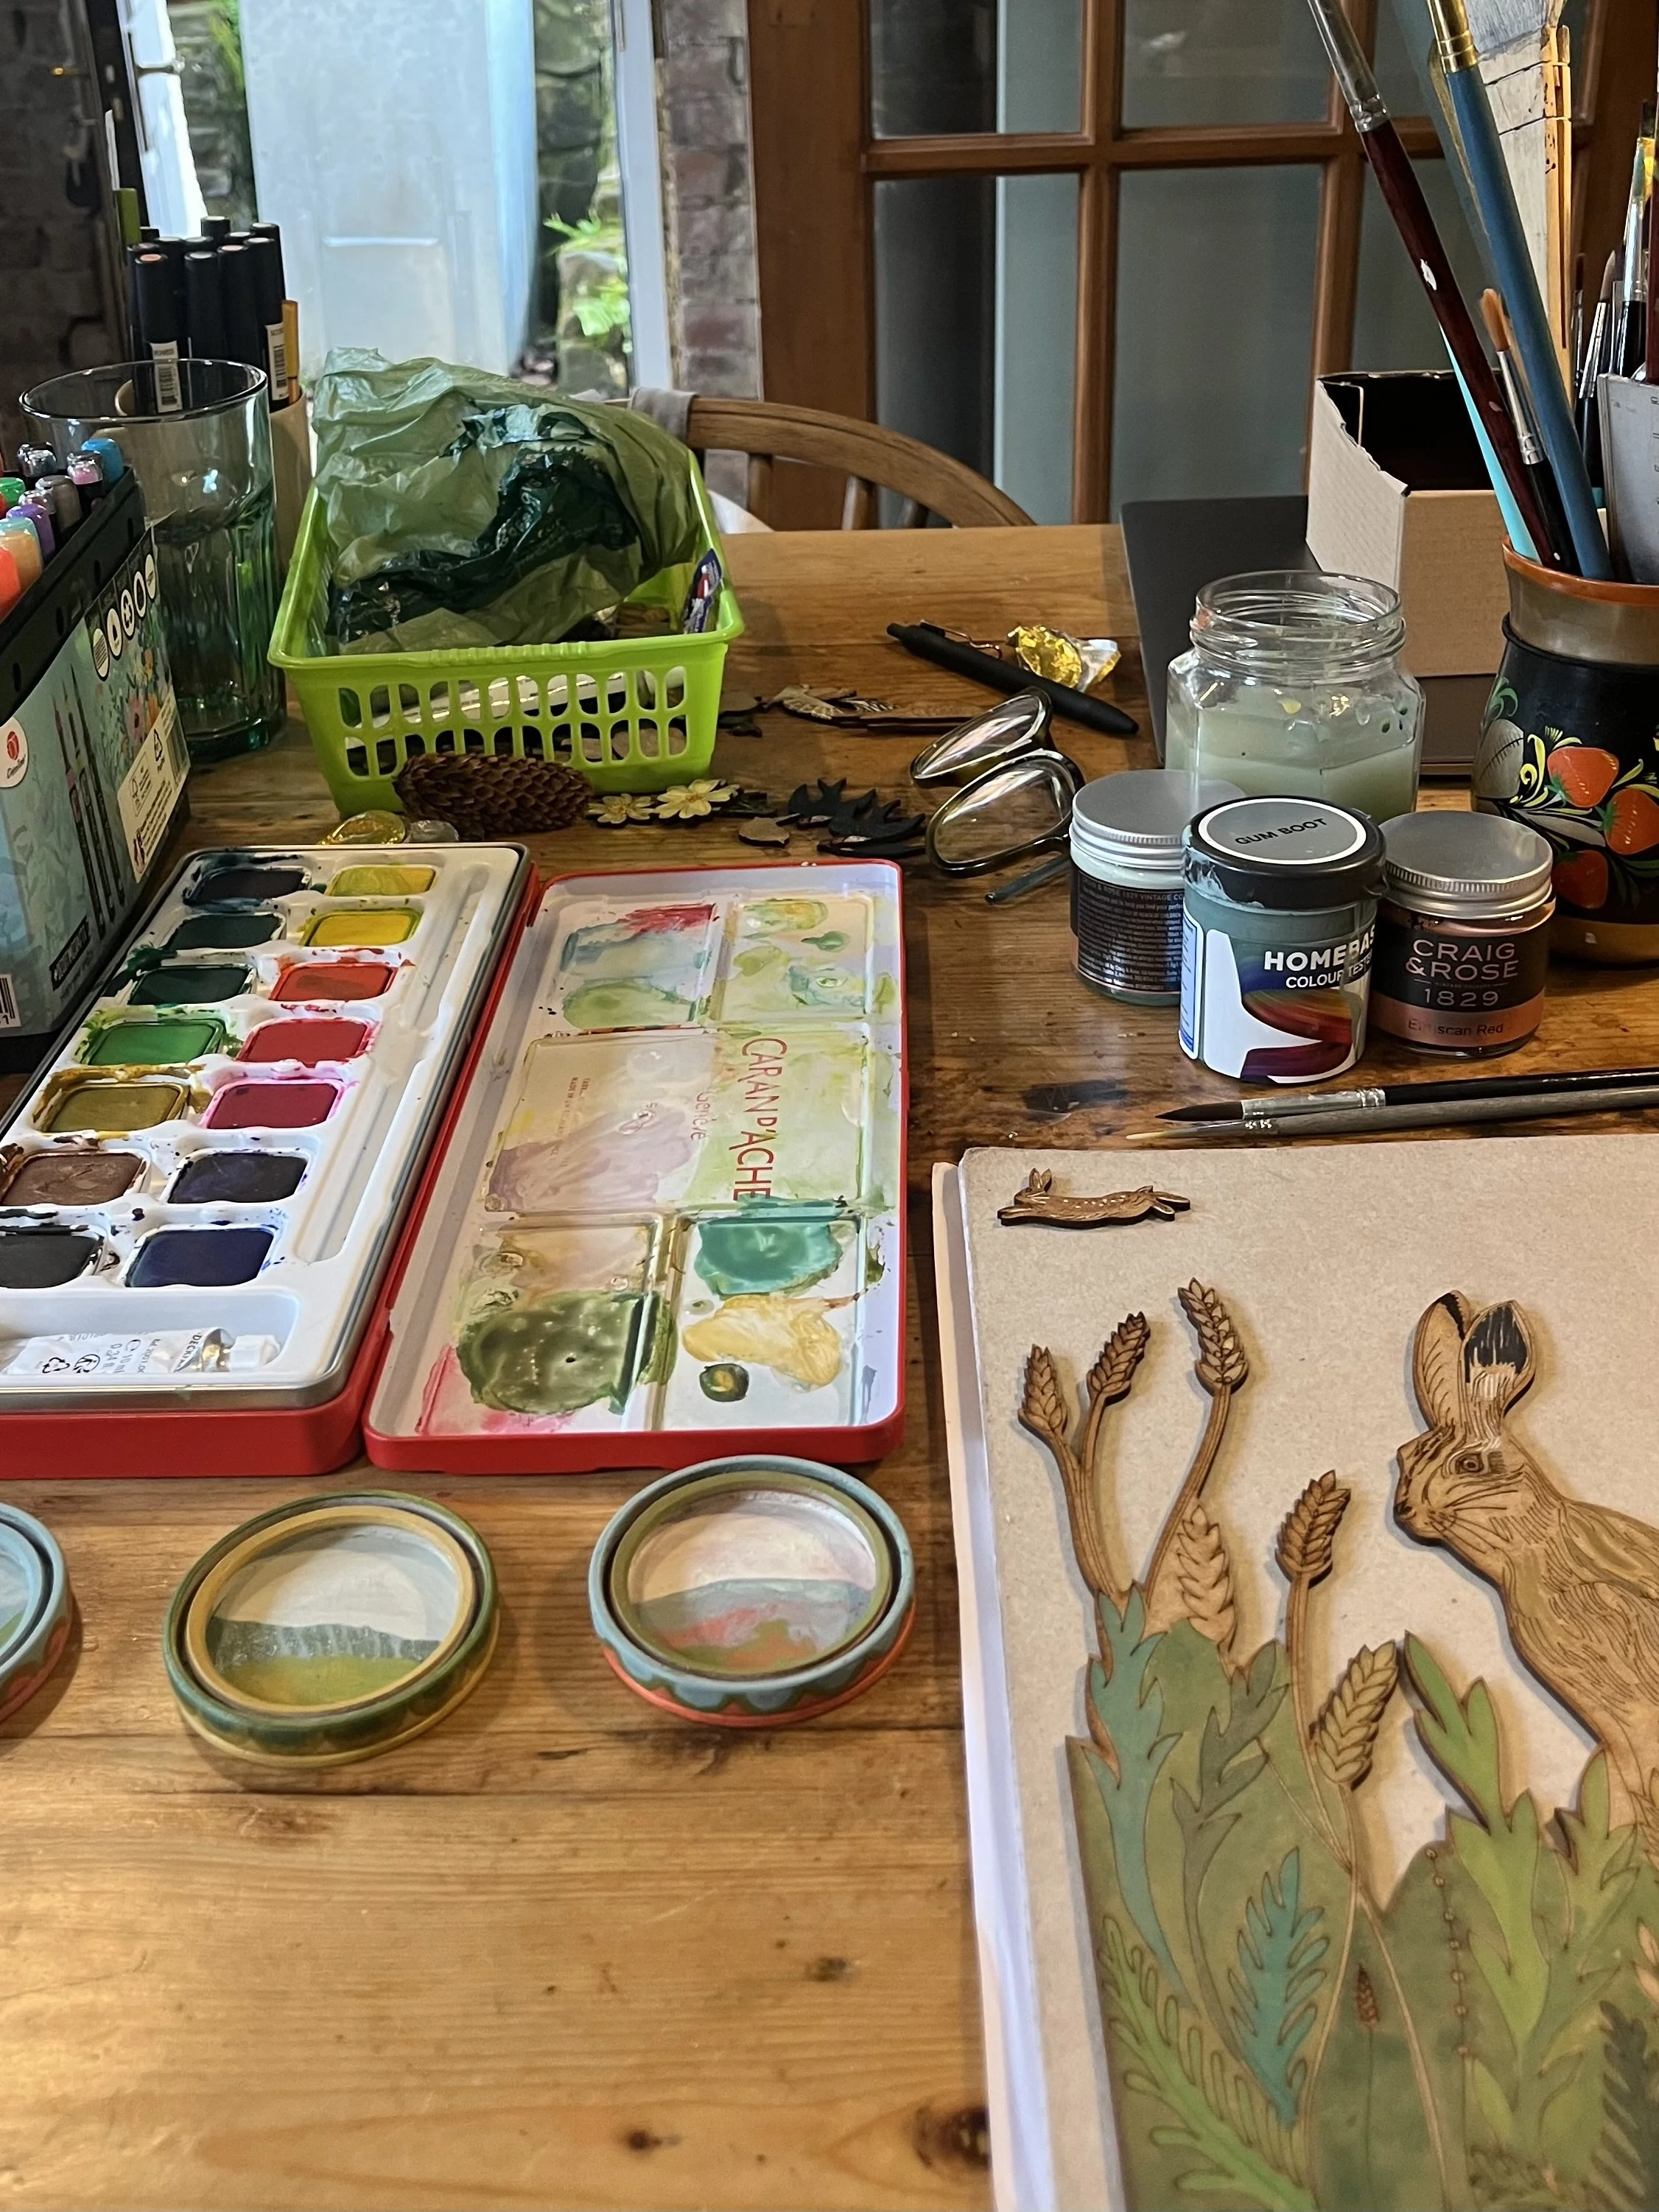
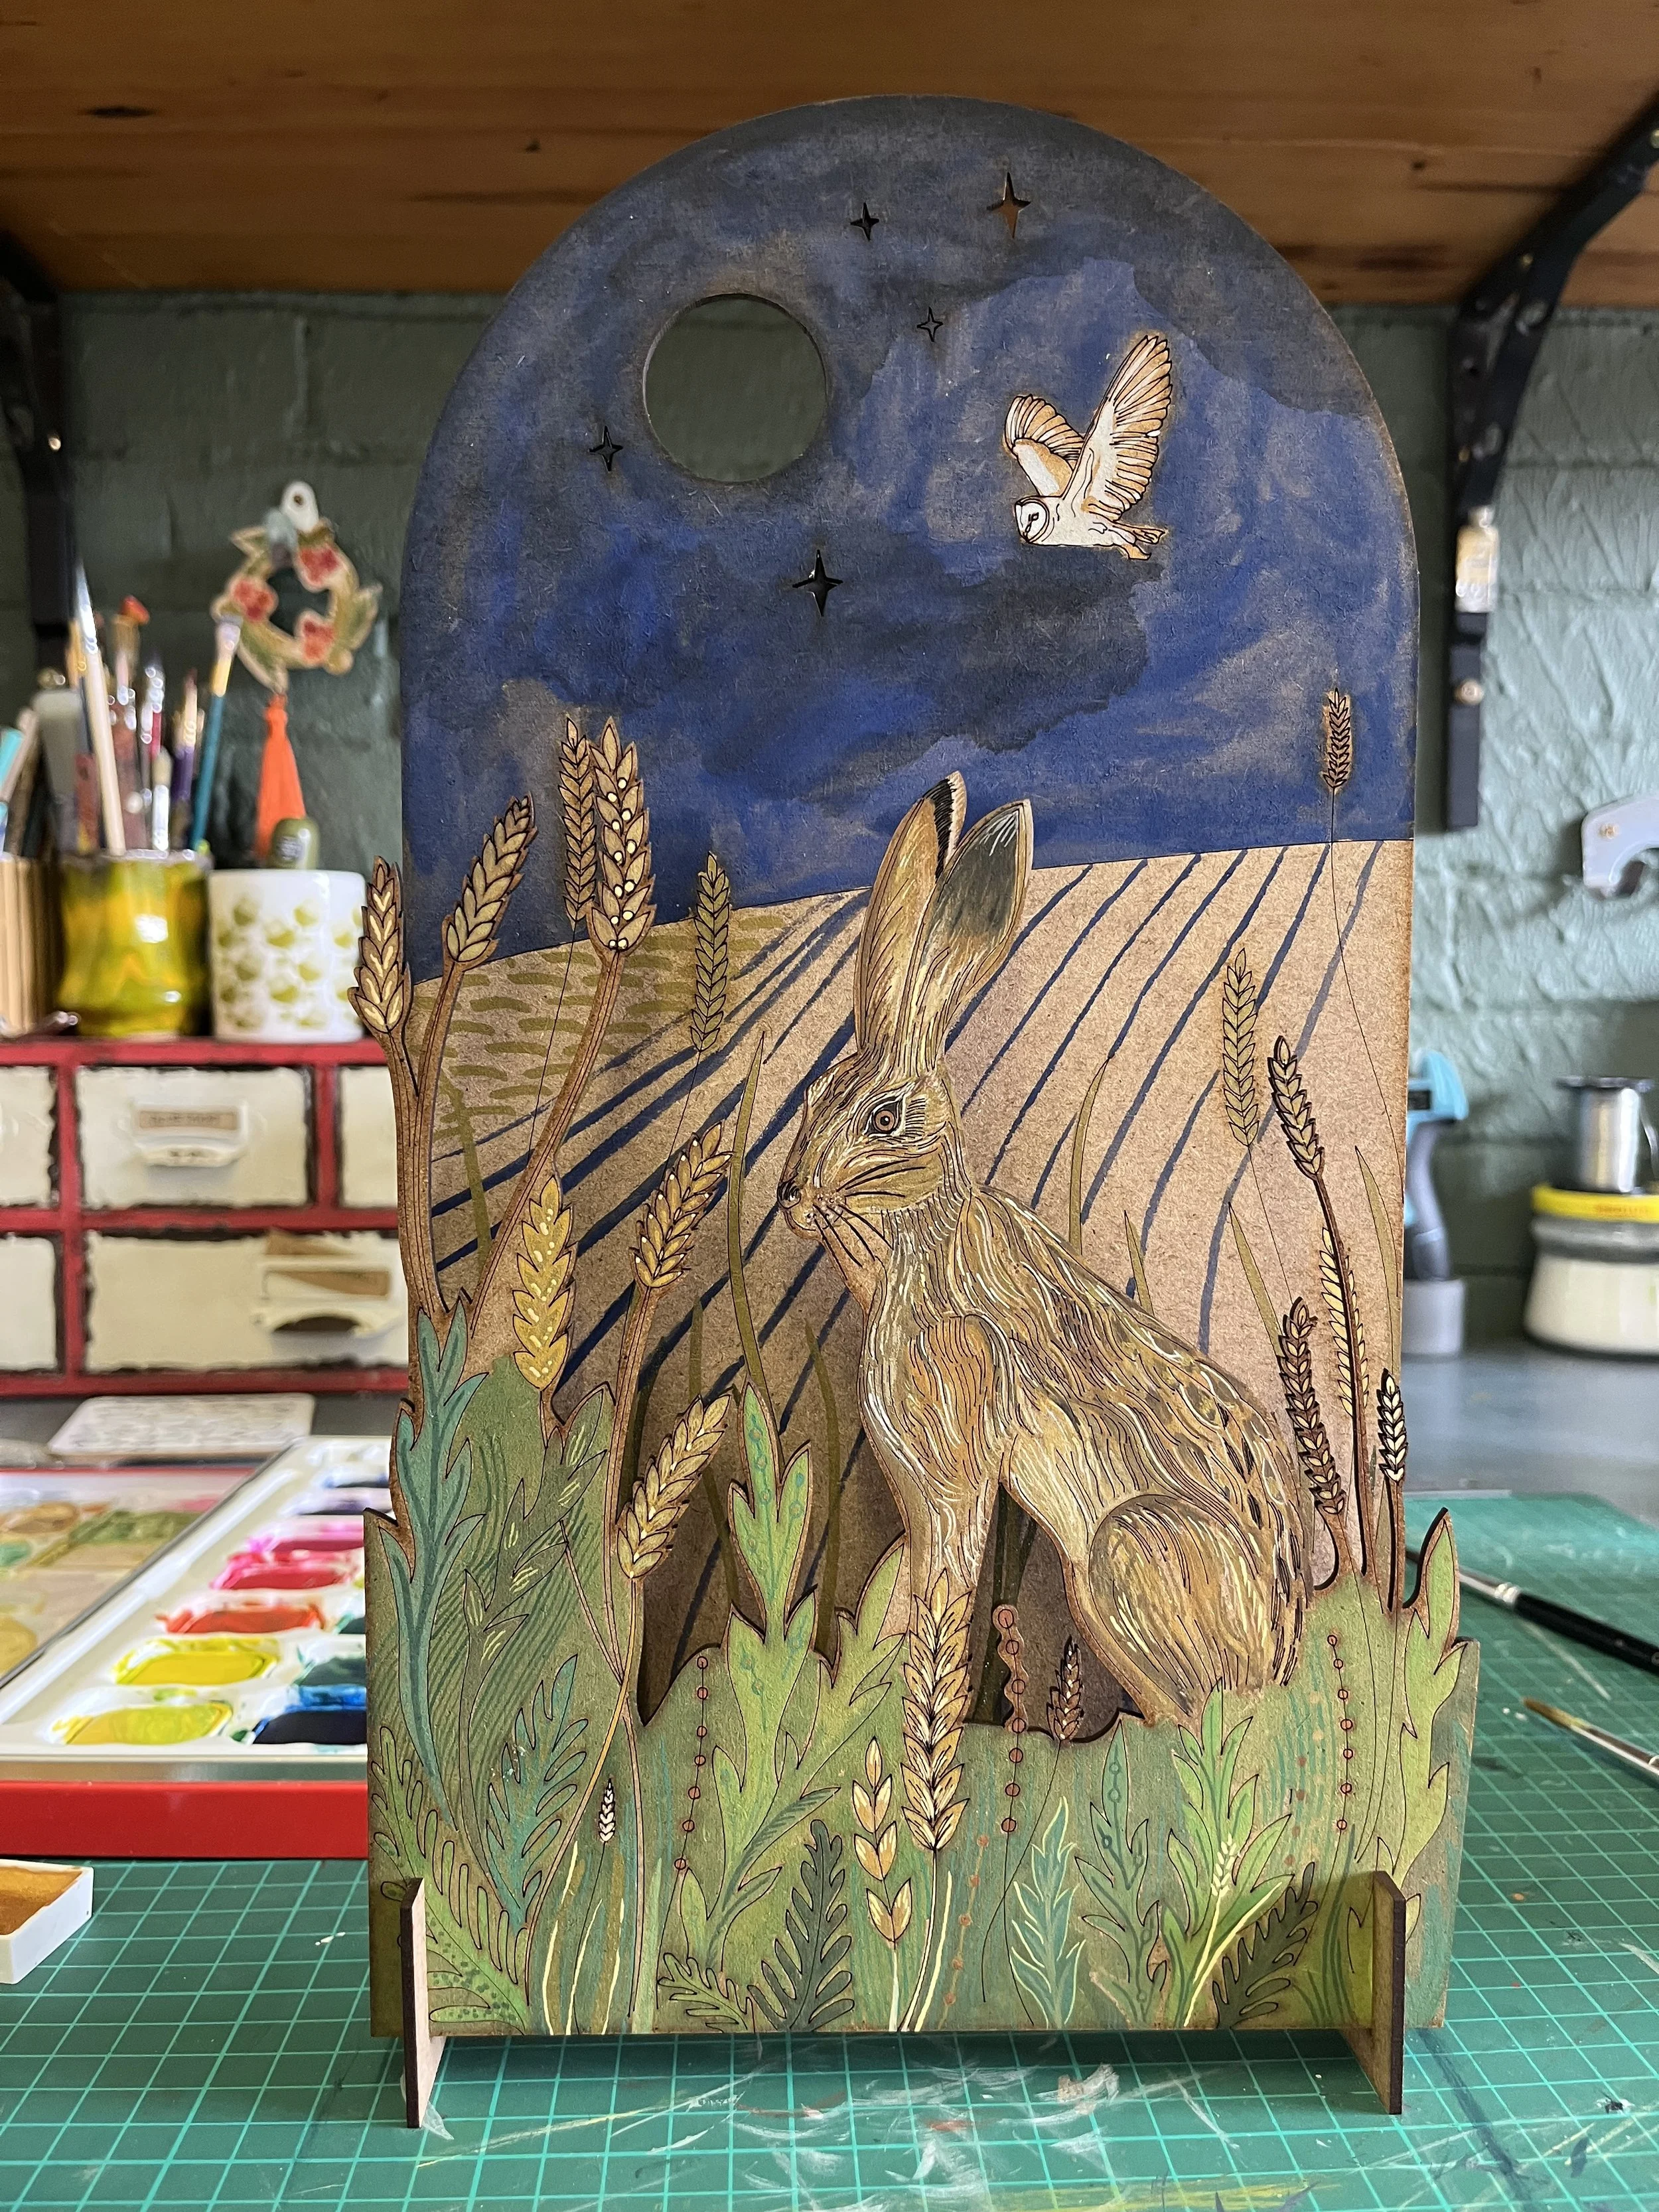
I brought with me a really capsule collection of pens to work with , and opted for some super bright felt tips. I think I’ve said it before, but I love the immediacy and permanence of drawing in pen. You are committed to the line you have drawn, and I find that liberating.
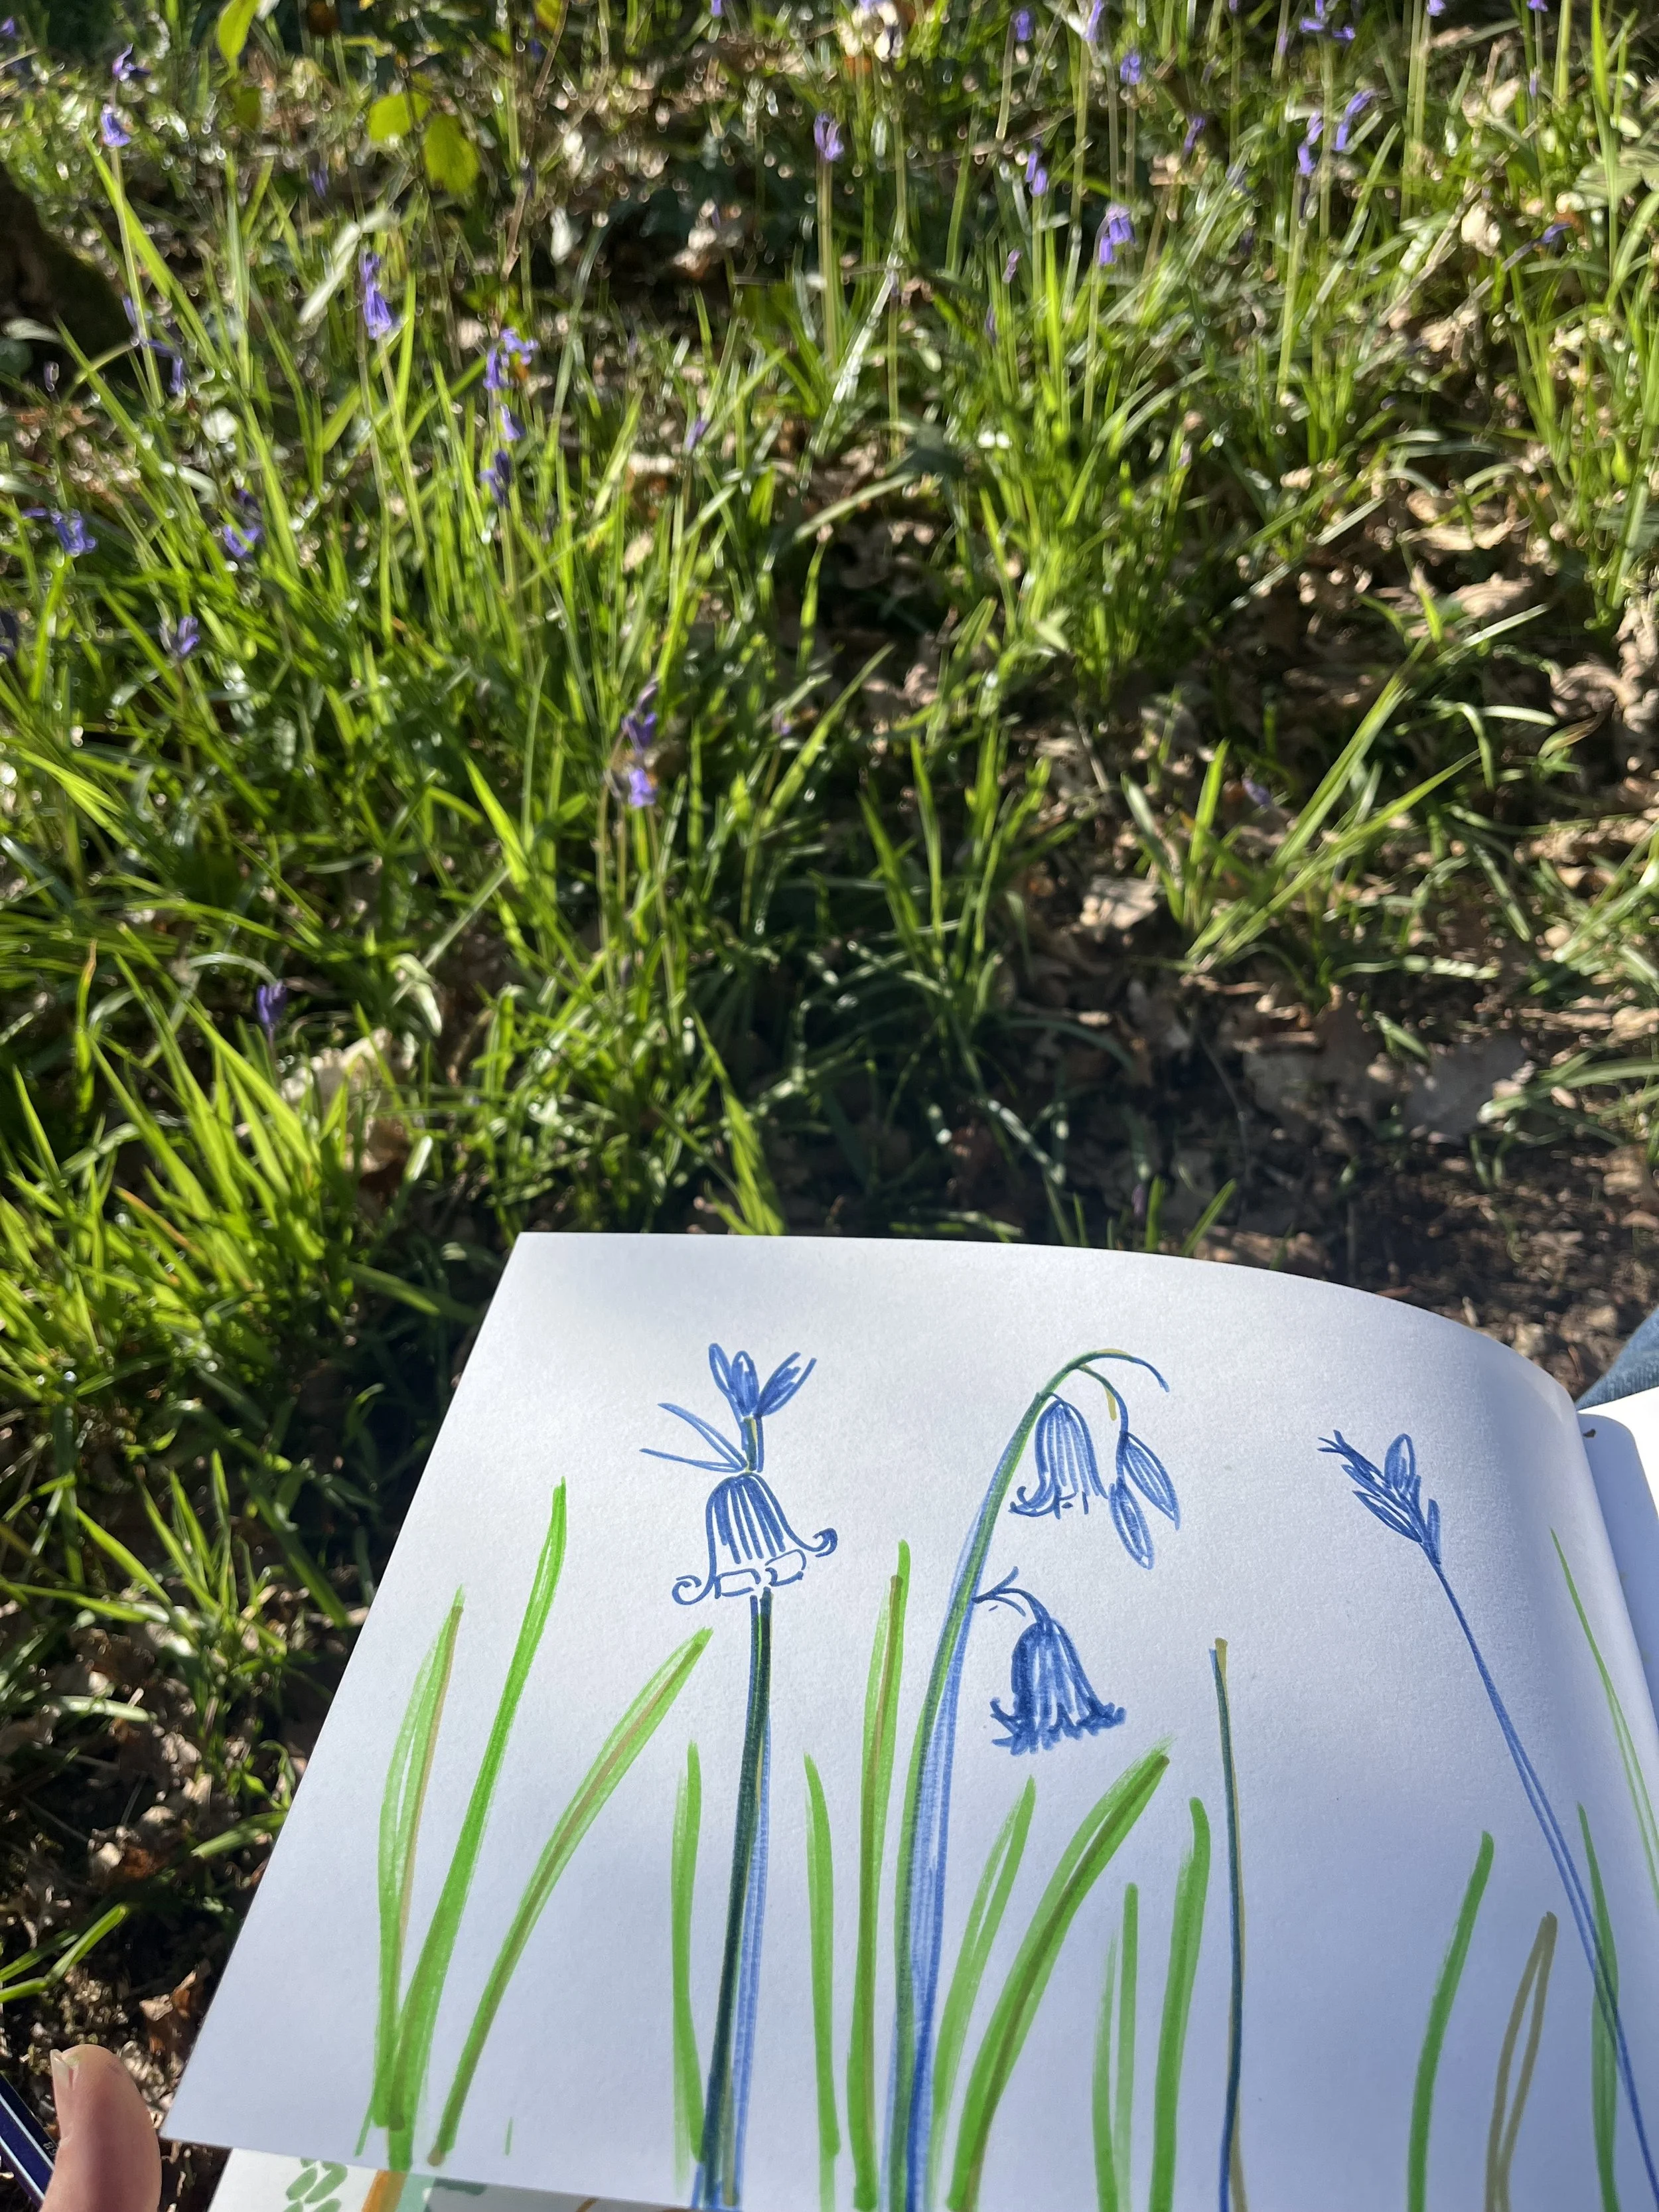
I will certainly not be winning any prizes for these drawings, but it was really lovely to slow down and really immerse myself in the shapes and scents of the Bluebells. It can be so easy to think you know the exact form of a flower/ tree/ bird but the longer you take to look the more information you glean. Like the little shields (not a technical term) that surround a budding flower, I’d never really registered those before.
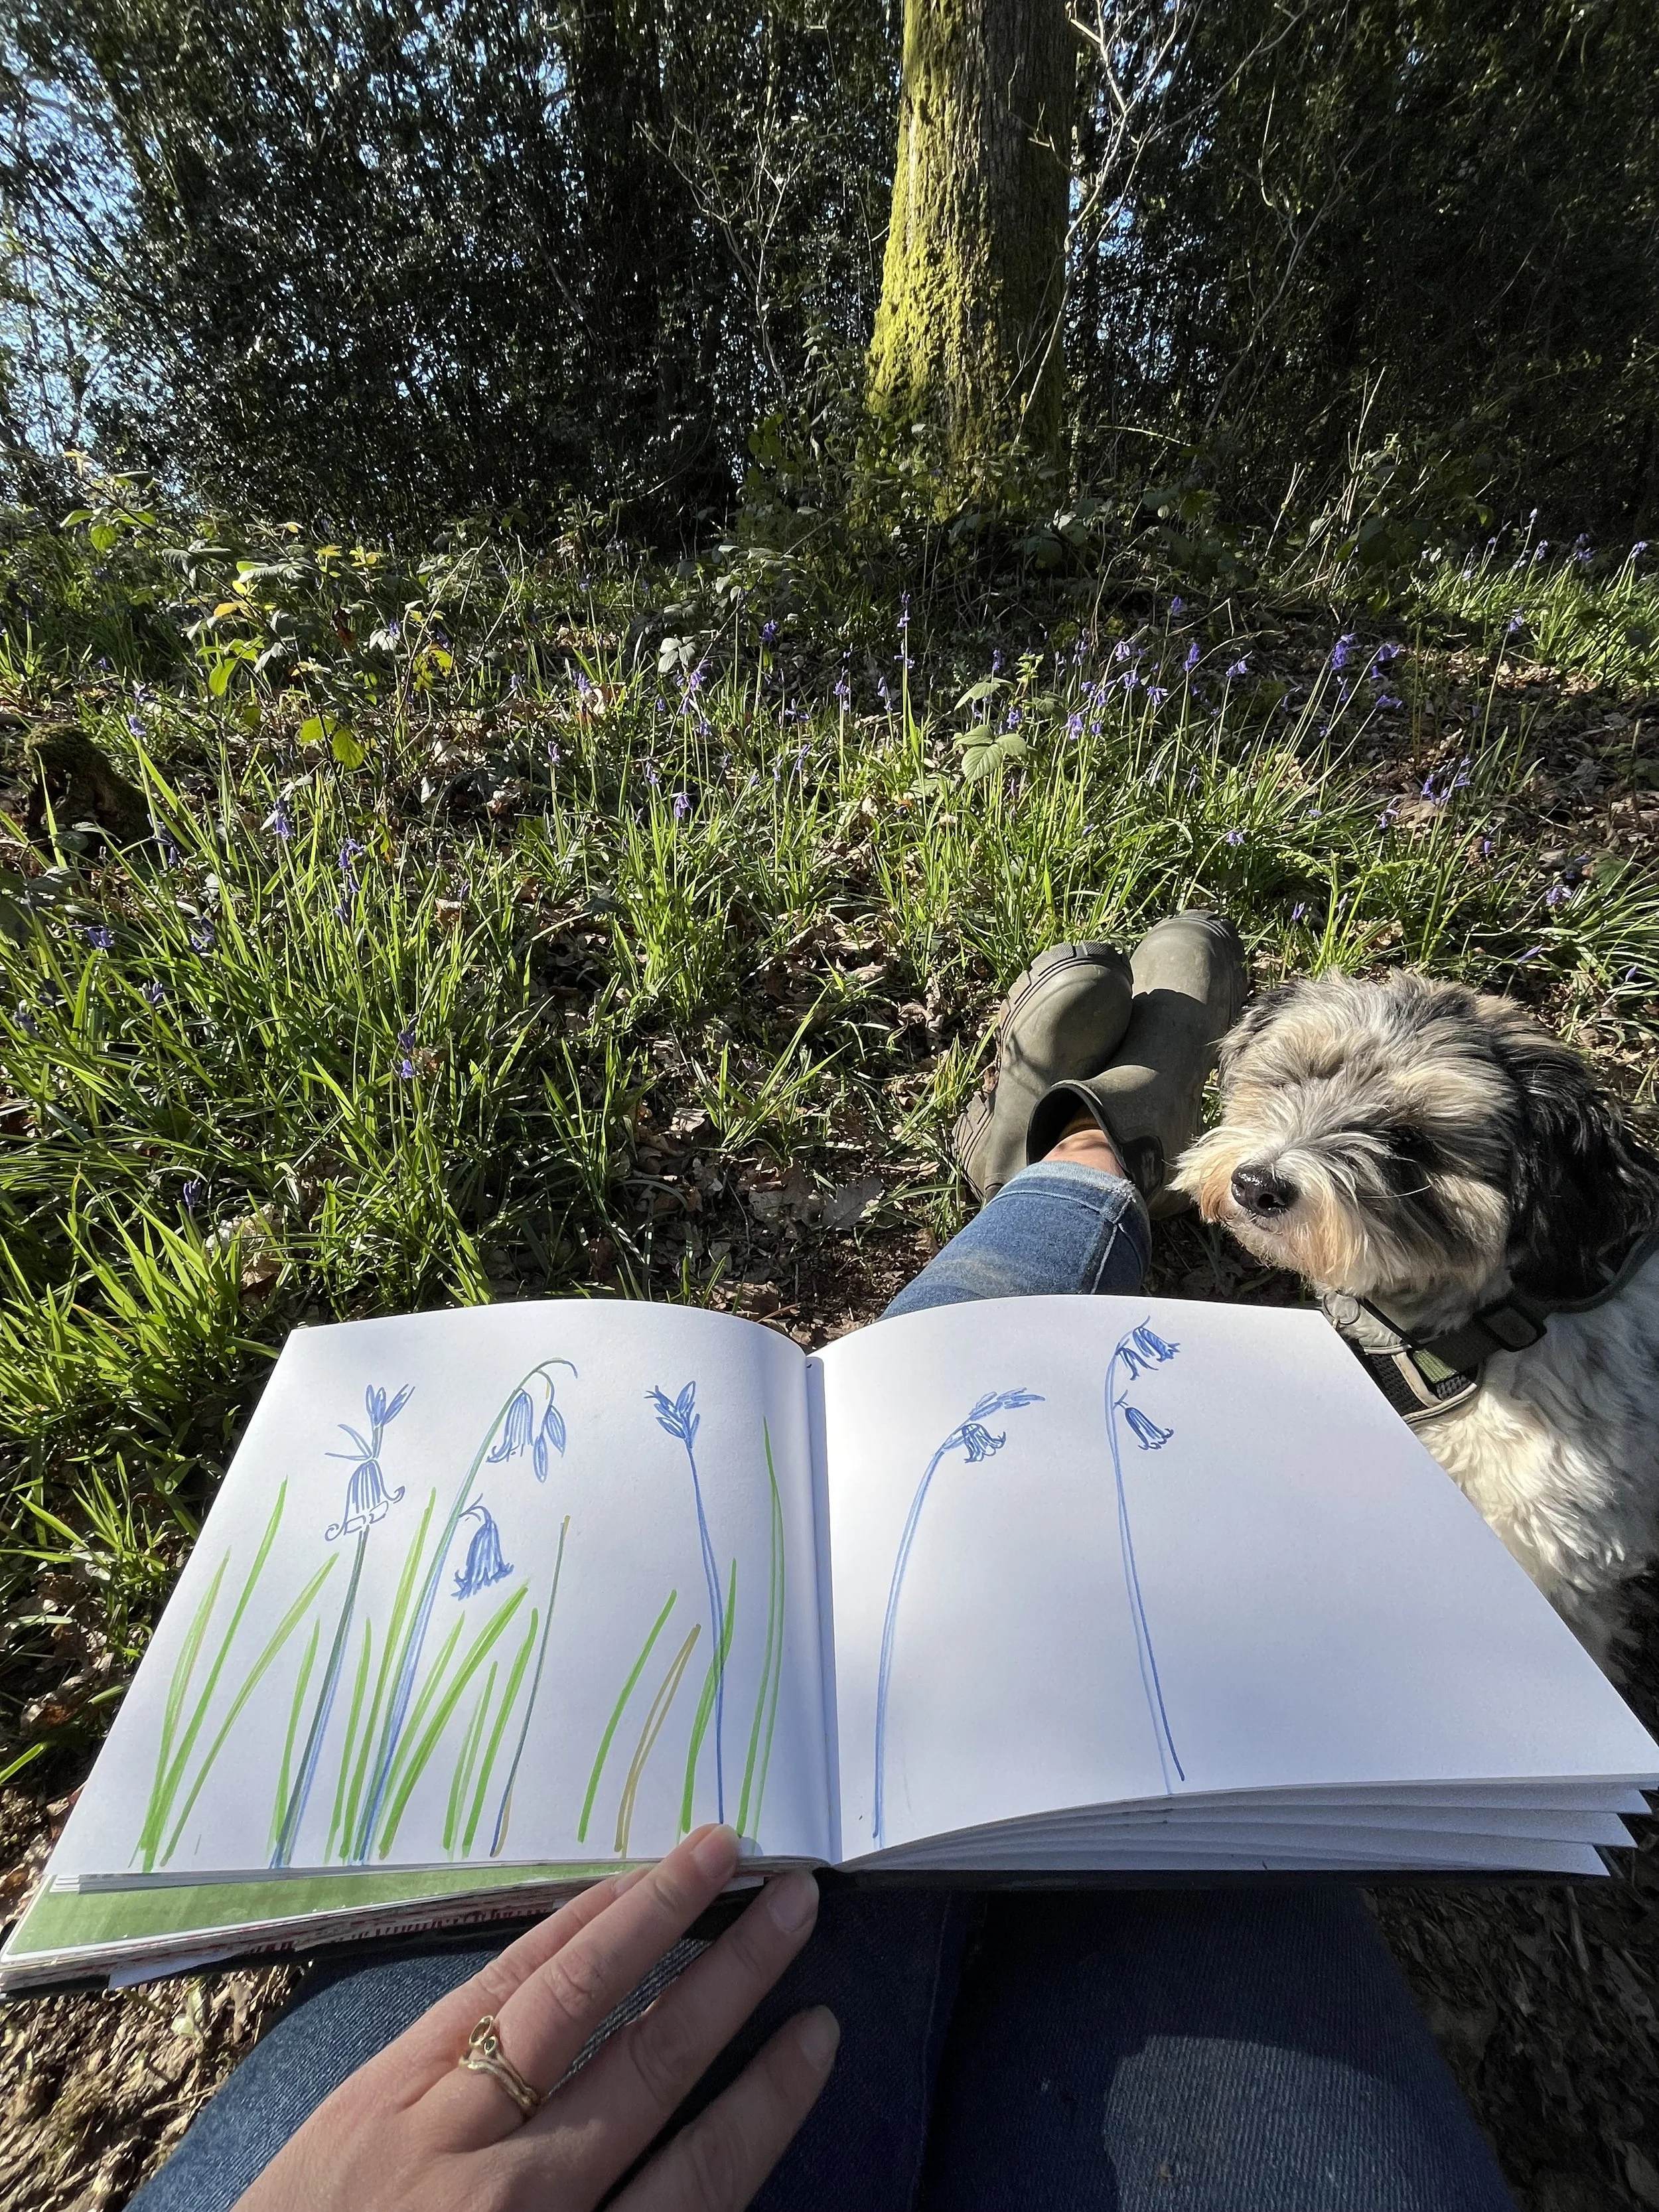
If you have the time this coming Bank Holiday weekend, I urge you to give yourself the gift of time to dwell a little longer in the woods. You don’t have to take a sketchbook, but you should definitely take a big breath of bluebells and let your ears rest with bird song.
Ps. Merlin informed me that the feather fiends hidden in the trees were, Blackbird, Robin, Wren, Dunnock, Chiffchaff, Goldfinch, Blue Tit, Great Tit, Song Thrush, Siskin and a Willow warbler. Not bad haul!